
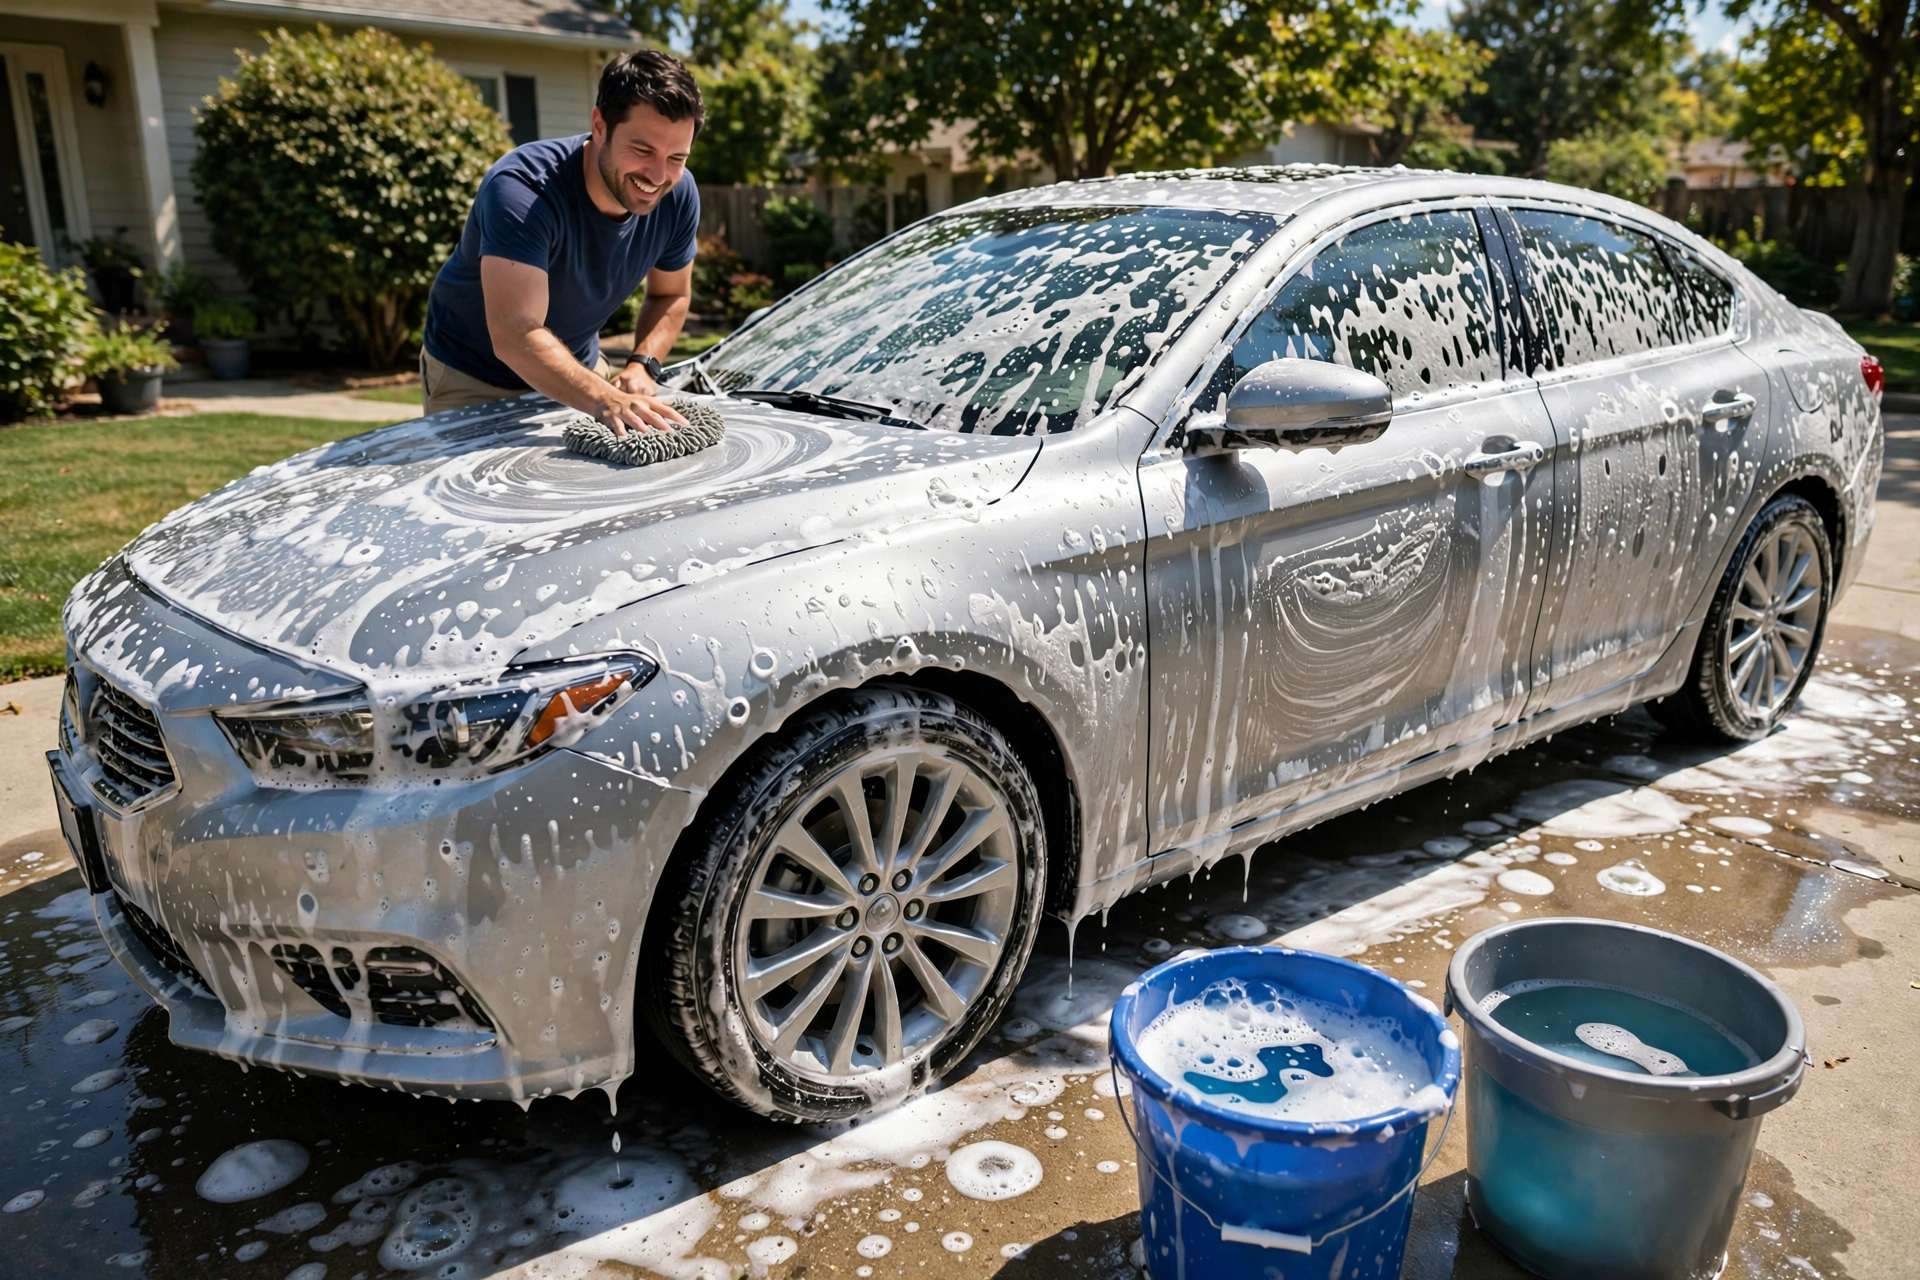
Washing your car sounds simple: soap, water, done. But if you have ever finished a wash and found faint circular scratches in the sunlight or water spots all over the paint, you already know the truth — there is a right way to wash a car, and a way that slowly damages it. The good news is that the right way is not hard or expensive. With two buckets, the right soap, and about 30 minutes, a complete beginner can wash a car safely at home and get a genuinely clean, swirl-free finish.
This guide walks you through the whole process: what gear you actually need, the two-bucket method professionals use, the correct order to wash, how to dry without water spots, and the seven mistakes that cause most paint damage.
Why washing your car properly actually matters
A car wash is not just cosmetic. Dirt, bird droppings, tree sap, and road salt do real damage if they sit on your paint. Dirt traps moisture against the clear coat, and over time that moisture works its way underneath. Bird droppings and sap are acidic — left for days, they can etch into the clear coat and leave permanent marks. Road salt speeds up rust on the body and underneath the car. Regular, gentle washing removes these things before they cause damage, helps your car hold its value, and keeps windows, mirrors, headlights, and number plates clean — which means better visibility for you and for other drivers.
What you need to wash your car at home
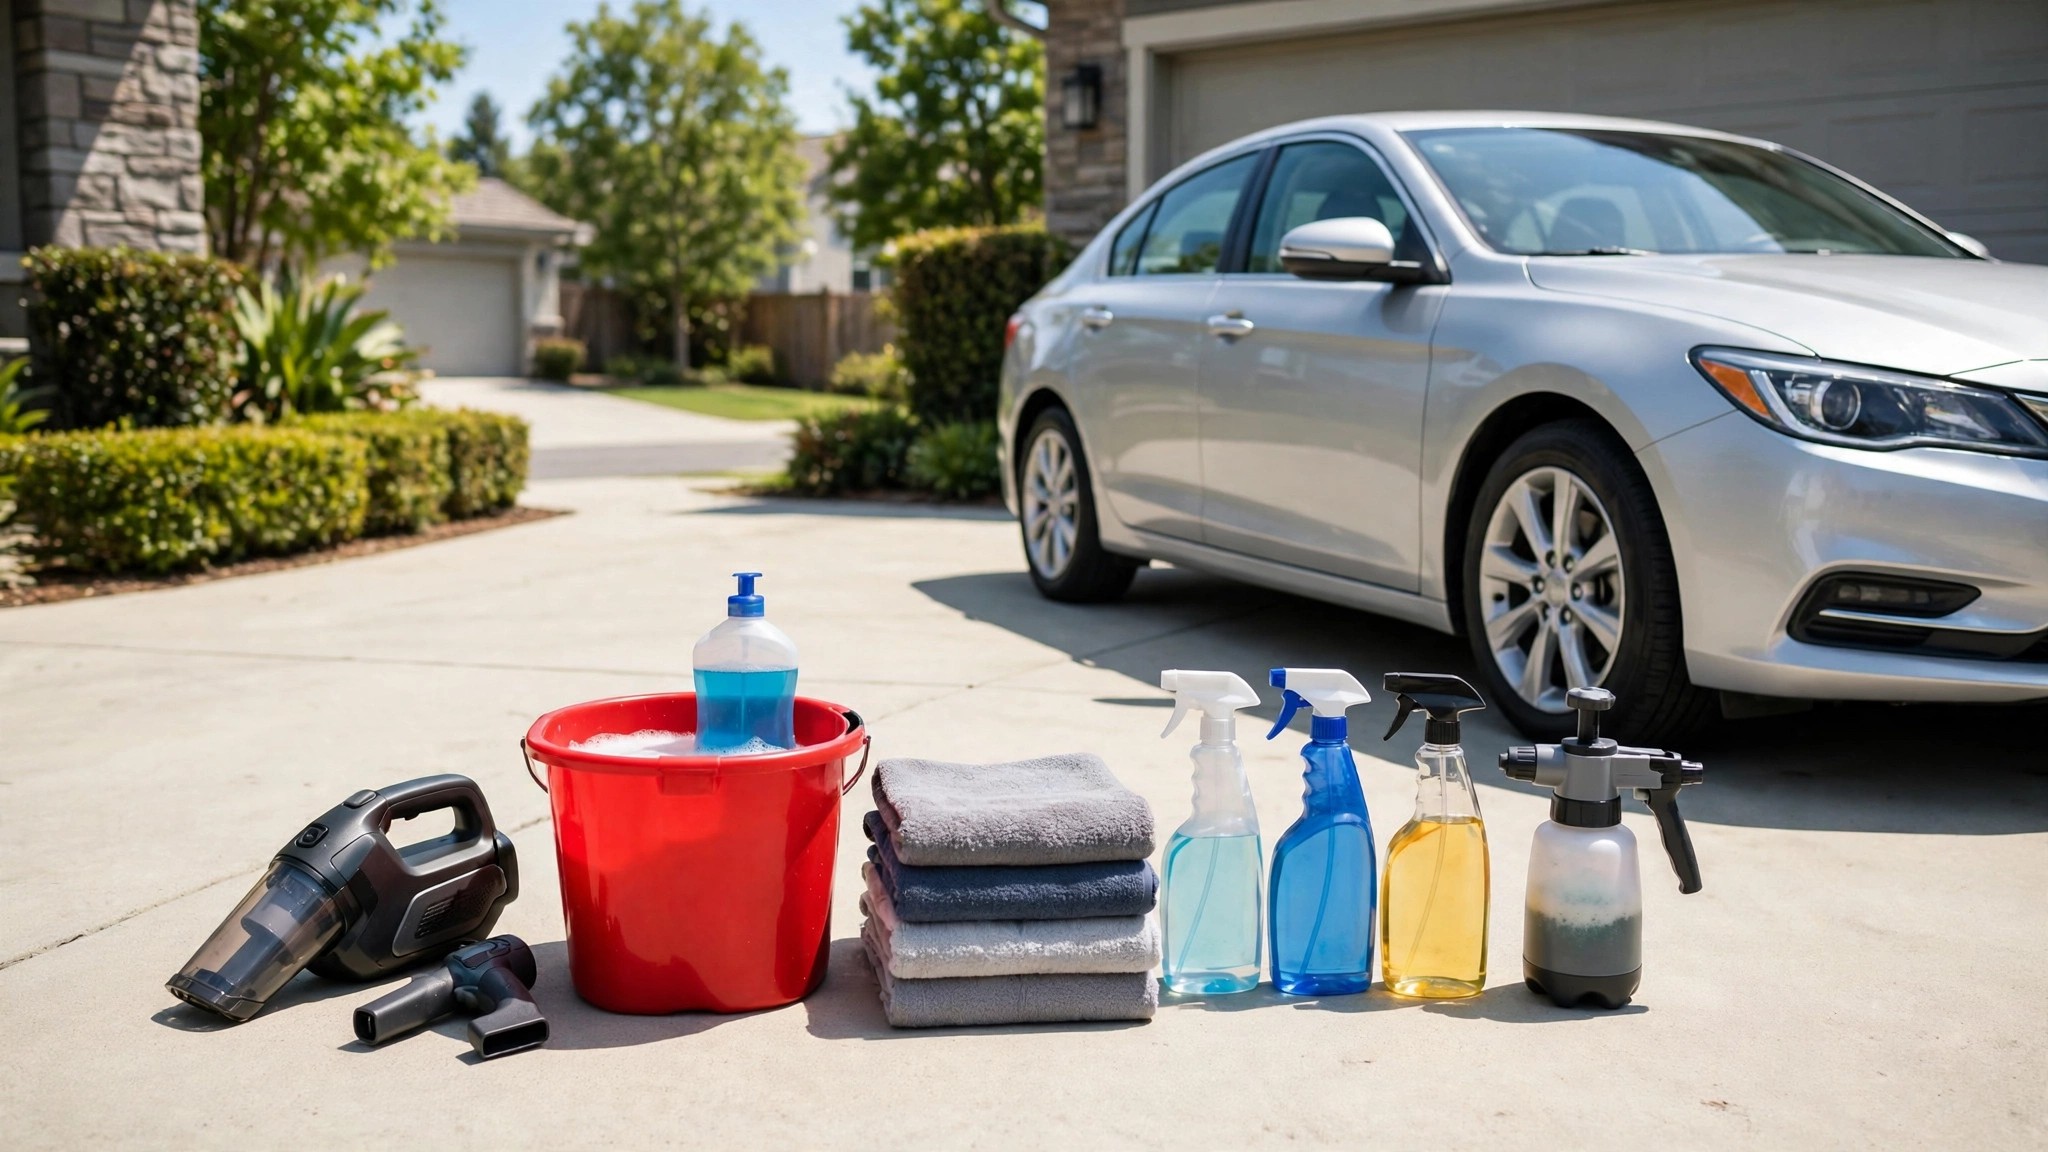
You do not need a pressure washer or a garage full of products. Here is the complete kit:
- Two buckets — one for soapy water, one for clean rinse water. This is the heart of the two-bucket method and the single best thing you can do for your paint.
- Car wash soap (pH-neutral) — made for car paint. Never use dishwashing liquid: it strips wax and protection off your paint.
- A microfiber wash mitt — deep fibers lift dirt away from the paint. Avoid flat sponges, which trap grit against the surface.
- Two or three large microfiber drying towels — keep one just for the wheels and door shuts.
- A garden hose — for rinsing. A pressure washer is optional.
- A soft brush or old toothbrush — for wheel spokes, badges, and trim gaps.
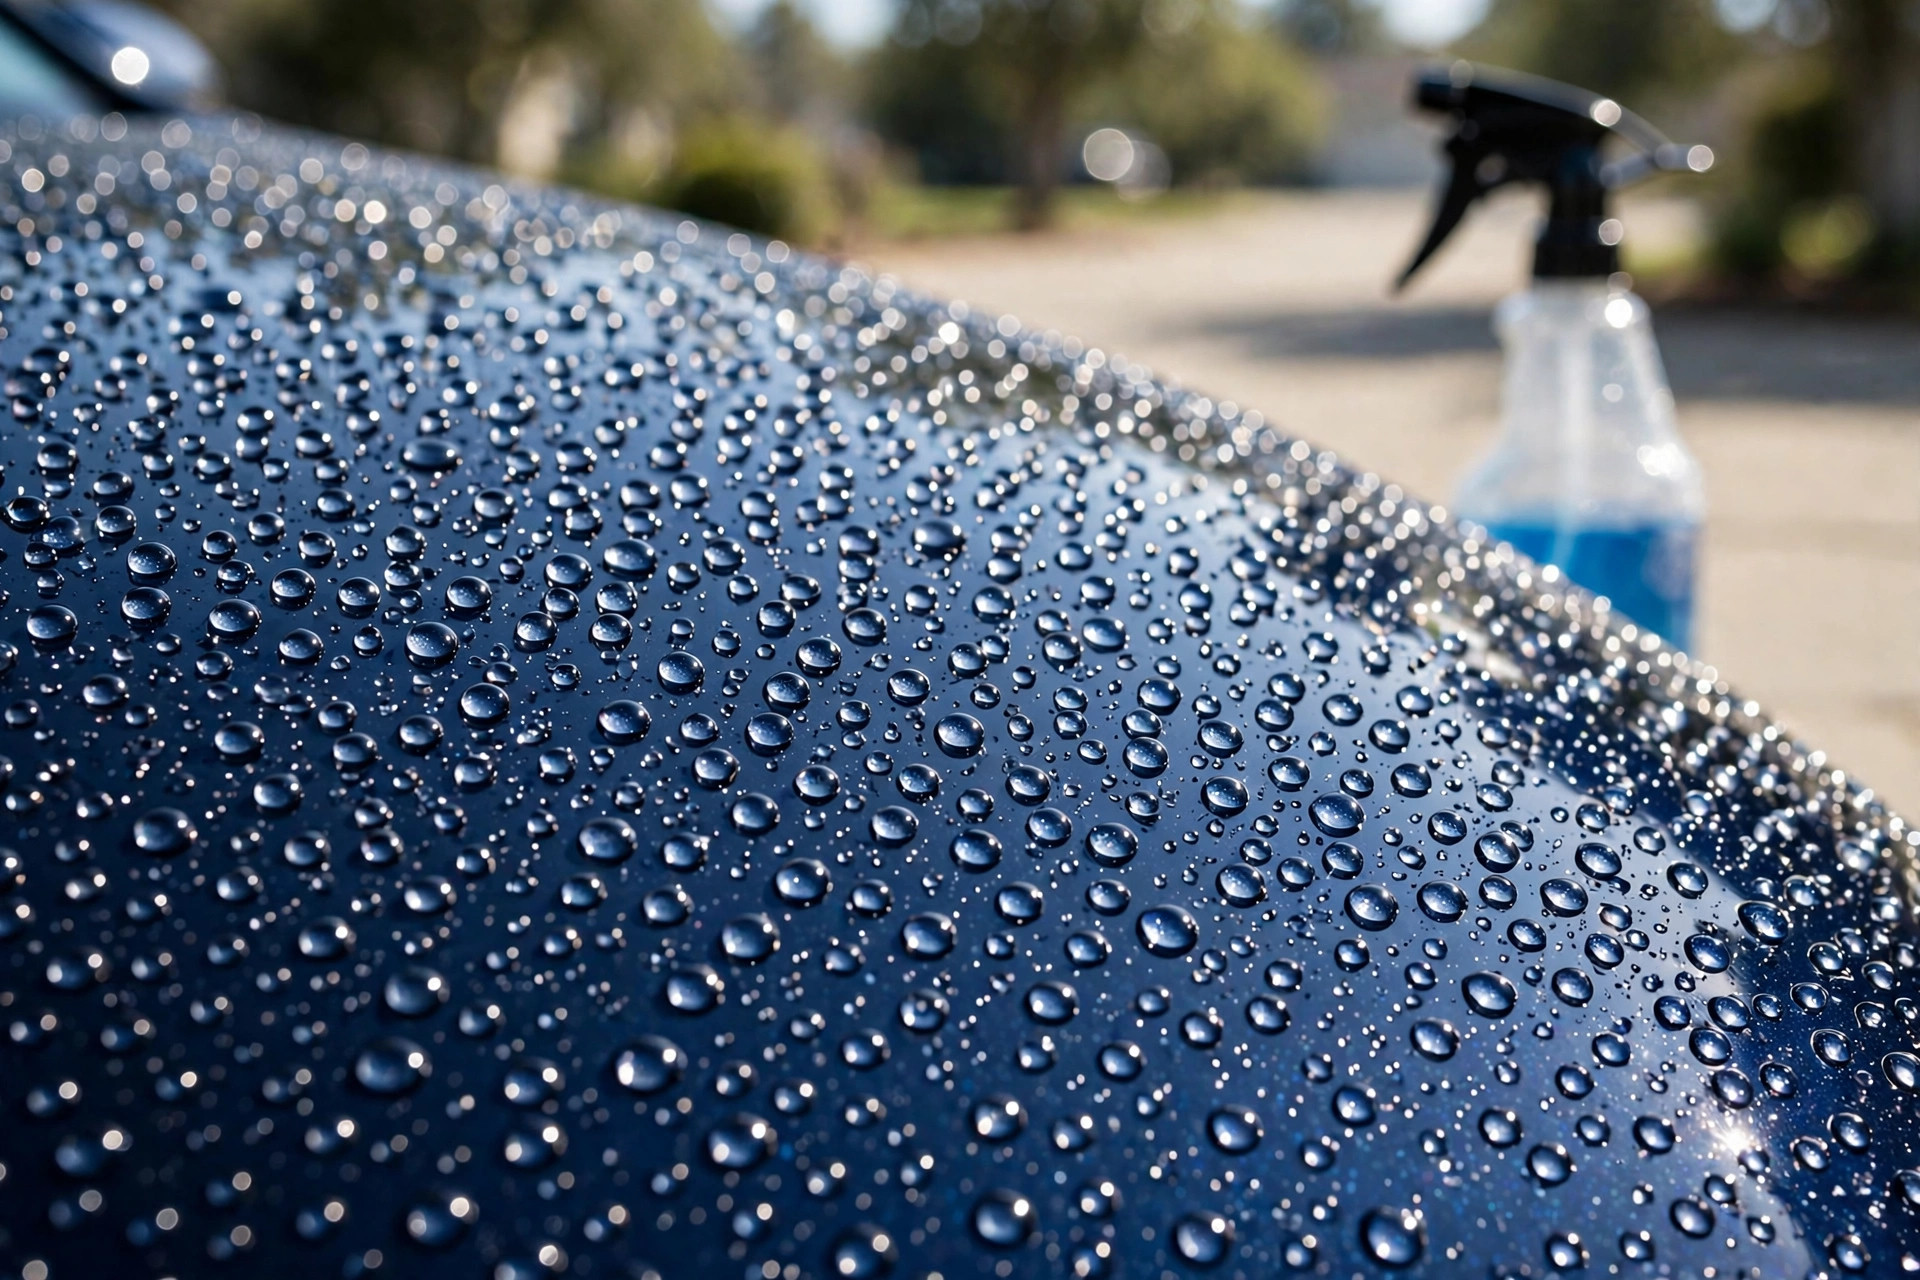
- Optional: a spray wax or sealant — applied after washing, it helps water bead and protects the paint.
If you are buying soap or towels for the first time, our guide to the best car wash soaps for beginners explains what to look for, and our microfiber towel guide covers GSM and blends.
The two-bucket method, explained
Most paint scratches from washing happen the same way: dirt picked up from the car goes back into the wash water, then gets wiped across the paint again. The two-bucket method breaks that cycle. Bucket one holds warm water mixed with car shampoo — your wash bucket. Bucket two holds plain clean water — your rinse bucket. After wiping a section of the car, dip the mitt into the rinse bucket and squeeze out the dirt. Only then dip it back into the soapy bucket, so the dirt stays in the rinse bucket and your wash water stays clean.
For extra protection, put a grit guard — a plastic grate that sits just above the bottom of the bucket — in each bucket. Dirt sinks below the guard, so your mitt cannot pick it back up. Grit guards are cheap and optional, but the two buckets themselves are not. As the two-bucket wash guide from Jennychem puts it, the rinse bucket is what keeps abrasive debris away from your paint.
Step by step: wash your car in about 30 minutes
Step 1: Park in the shade and let the car cool down
Wash in the shade or on a cloudy day, on a cool surface. If the panels are hot or in direct sun, soap and water dry before you can rinse them, leaving spots and soap marks.
Step 2: Rinse the whole car first
Rinse with the hose, top to bottom. This removes loose dirt and grit before anything touches the paint — and that pre-rinse is what prevents most scratches. Pay extra attention to the wheel arches, lower panels, and behind the mirrors, where grit collects.
Step 3: Fill your buckets
Fill one bucket with clean water (rinse bucket) and the second with warm water plus car shampoo, following the dilution ratio on the bottle. More soap is not better — too much leaves residue that is hard to rinse off.
Step 4: Wash top to bottom, in straight lines
Start with the roof and work down: roof, windows, hood, trunk, upper doors, then the lower doors and bumpers last, because the lower areas hold the most grit. Wipe each panel in straight lines — not circles, which cause swirl marks. After each section, rinse the mitt in the rinse bucket, squeeze it out, then reload it with soapy water. If you drop the mitt on the ground, do not use it again until it is thoroughly rinsed.
Step 5: Clean the wheels separately
Wheels are the dirtiest part of the car, so treat them as a separate job with a separate cloth or brush. Use the soft brush for spokes and lug-nut areas. Wash the wheels last, so brake dust and road grime never touch your paint mitt.
Step 6: Rinse thoroughly
Rinse the whole car again, top to bottom, with clean water. Make sure no soap is left in door shuts, around badges, mirrors, and the fuel cap — dried soap leaves white marks.
Step 7: Dry it properly (do not let it air-dry)
Never let the car air-dry: water left on the paint dries into spots, especially if your tap water is hard. Dry with large microfiber towels, laying the towel flat and pulling it gently across the surface rather than scrubbing. Use a separate towel for the wheels and door shuts, and dry the mirrors and badges last, since water hides in those gaps and drips out later.
7 mistakes beginners make when washing a car
- Using dishwashing liquid. It strips wax and protection from the paint. Use proper car shampoo.
- Washing with one bucket. Every dip puts dirt back on the car. Two buckets cost almost nothing and prevent most swirl marks.
- Washing in direct sunlight. Soap dries on the paint and leaves spots and streaks.
- Using a sponge or an old rag. Flat sponges trap grit against the paint. A microfiber mitt lets grit pull away from the surface.
- Washing in circles. Straight lines, always — circles create the swirl marks you see in sunlight.
- Skipping the pre-rinse. Rinsing first removes the loose grit that would otherwise be ground into the paint by your mitt.
- Reusing a dropped mitt. Once it has touched the ground, it has picked up grit. Swap it for a clean one or rinse it thoroughly.
How often should you wash your car?
For most daily drivers, every two to four weeks is a good rhythm. Wash sooner after beach trips, long drives, or anything that leaves bugs, sap, or bird droppings on the paint — those are best removed quickly, before they etch into the clear coat. In winter, wash more often if roads are salted. Our monthly car maintenance checklist puts washing into a simple 10-minute monthly routine alongside tire pressure, fluids, and lights.
Frequently asked questions
Can I wash my car with just a hose and no buckets?
A hose alone will not remove bonded dirt — you will still see a film once it dries. For a real clean, you need contact washing with a mitt and soap.
Is a pressure washer safe for beginners?
Yes, for pre-rinsing and rinsing, if you keep a sensible distance from the paint and avoid chipped paint, trim, and seals. A garden hose is perfectly fine if you do not own one.
Do I need to wax my car after every wash?
No. A spray wax or sealant every few washes is plenty for a beginner. It adds a protective layer and helps water bead, but it is an optional finishing step, not part of every wash.
Can I wash my car in winter?
Yes, and you should — winter salt is one of the worst things for your paint and underbody. Pick a day above freezing and dry the door seals and locks so they do not freeze shut.
Why does my car have swirl marks even though I wash it regularly?
Swirl marks almost always come from technique: a single bucket, a sponge or dirty mitt, circular motions, or washing without a pre-rinse. Switch to the two-bucket method, a clean microfiber mitt, and straight-line wiping.
Conclusion
Washing your car properly is a simple skill, and once you learn it, it stays with you. Two buckets, proper car shampoo, a microfiber mitt, straight lines, top to bottom, and a proper dry — that is the whole method. Do it every two to four weeks, clean off bird droppings and sap quickly, and your paint will stay protected. Next time you wash, try the two-bucket method once — you will see the difference in the rinse bucket alone. And while you are at it, give your windshield wipers a quick check: clean glass and good wipers go together.