
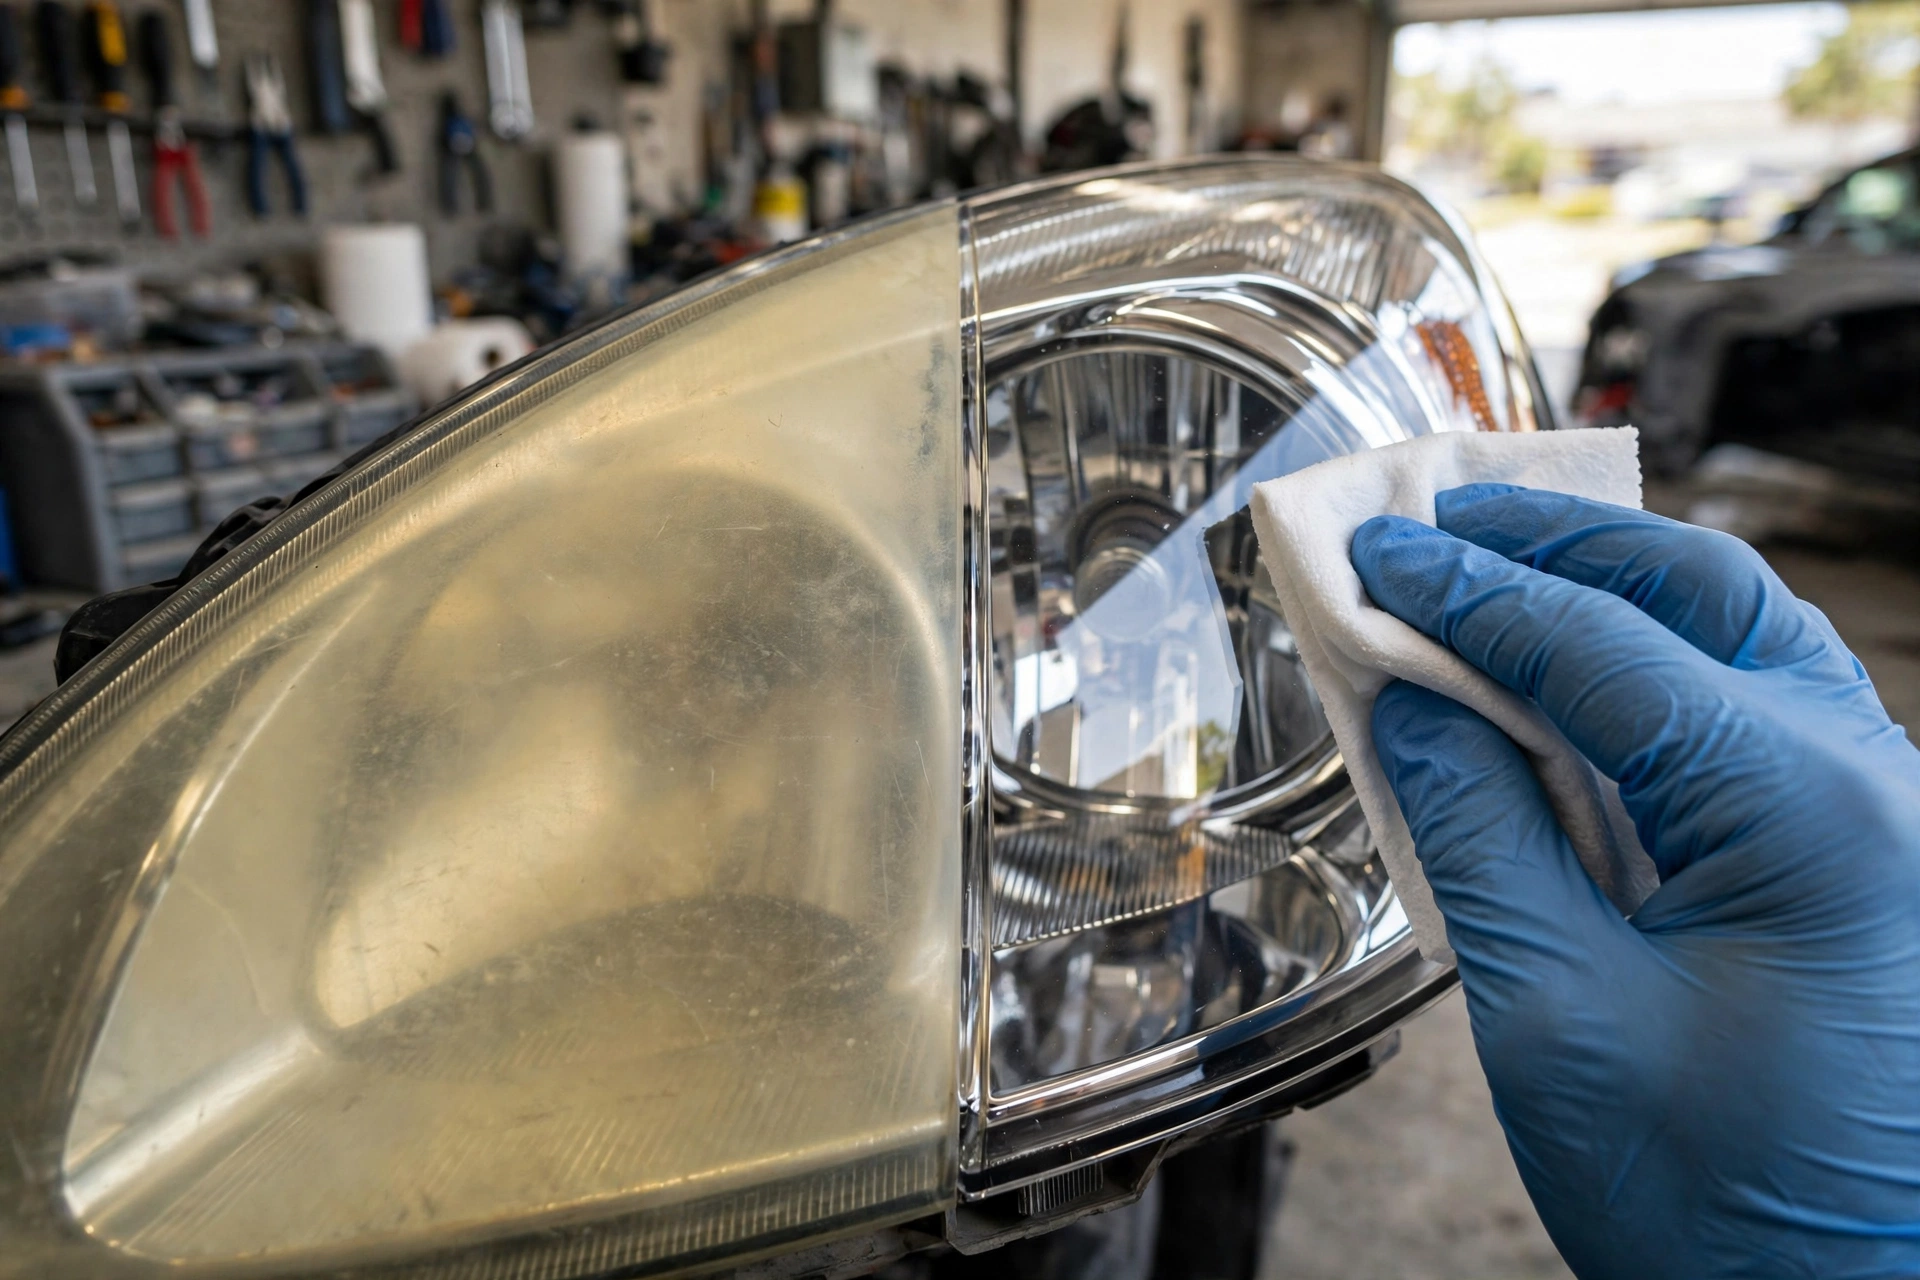
Yellowed, cloudy headlights do more than make your car look old — they can cut how far your headlights throw light at night, which makes driving after dark genuinely less safe. The good news: you almost never need to buy new headlight assemblies. A headlight restoration kit is a $10–$25 box that lets you sand, polish, and re-seal the plastic lenses yourself in about 30–60 minutes, with results that often look close to new.
But not all kits are equal. The single most important thing we've learned from years of buyer reviews and independent testing is this: the UV seal is the make-or-break step. Any kit can make a cloudy lens look clearer for a week. What separates the good kits from the junk is whether they finish with a real UV-blocking coating — without one, the haze comes back within months.
Below are 4 kits that beginners consistently rate well and that cover different situations: heavy oxidation, the easiest process, drill-powered muscle, and the budget pick. Every rating below comes from the product's Amazon rating count, not from our own testing.
Affiliate disclosure: FirstCarCare is reader-supported. If you buy through links in this article, we may earn a commission at no extra cost to you. It helps keep our beginner guides free.
Our 4 Beginner Picks at a Glance
- Best Overall — CERAKOTE Ceramic Headlight Restoration Kit: No tools needed, 3 steps, ceramic UV coating that chemically bonds for long-lasting protection. 4.7/5 · ~63,000 Amazon ratings (per third-party review data).
- Best Finish — SYLVANIA Headlight Restoration Kit: A more thorough 3-step process with activator + clear coat; noted in independent testing for the biggest improvement in light output.
- Best for Heavy Yellowing — 3M Headlight Lens Restoration System 39008: Drill-powered sanding discs for the toughest oxidation. Best if you own a drill and your lenses are in rough shape.
- Best Budget — Turtle Wax Headlight Lens Restorer Kit (T-240KT): The cheapest reputable option. 4.1/5 · ~9,300 Amazon ratings.
How to choose a headlight restoration kit (beginner's buying guide)
1. Sanding vs. wipe-on: Heavy yellowing needs actual abrasives — sandpaper discs or pads (Sylvania, 3M) cut through the oxidized layer. Light haze can be handled with chemical wipes (CERAKOTE). If your lenses are deeply yellow or feel rough, pick a sanding kit.
2. The UV seal is non-negotiable: Factory headlights ship with a UV-protective coating. Once it fails, the plastic oxidizes fast. When you sand it off during restoration, you must replace it with a UV-blocking clear coat or ceramic coating — otherwise you'll be doing this again next season.
3. Do you own a drill? The 3M kit needs a standard household drill (not included). Every other pick on this list works entirely by hand, which is safer for paint if you're a beginner.
4. Masking tape is mandatory: Sandpaper and compounds don't care what's underneath them. Before you start, mask the paint and trim around each headlight with painter's tape — two layers is the pro move. None of the kits include tape, so grab a roll you already own.
5. Know what a kit can't fix: Restoration only treats the outside surface of the lens. It can't repair cracks, deep scratches, moisture trapped inside the housing, or burned-out reflectors. If the damage is inside, the housing needs replacing.
1. CERAKOTE Ceramic Headlight Restoration Kit — Best Overall
#1 · Best Overall
Rating: 4.7/5 · from ~63,000 Amazon ratings (reported by third-party review data; named 2026 "Best Overall" by multiple review outlets)
- Tool-free, 3-step process: oxidation wipes, sanding kit, ceramic coating wipes — about 30 minutes
- Ceramic coating chemically bonds to the lens with guaranteed long-lasting UV protection
- Works on headlights, fog lights, brake lights, and turn signals
- Compact kit rated for up to 10 uses — enough for multiple vehicles
Pros: No drill or power tools needed, so there's almost no risk of damaging paint; ceramic seal is the longest-lasting type of UV protection in this price range; genuinely beginner-friendly instructions.
Cons: Oxidation wipes still require elbow grease on badly hazed lenses; designed around halogen-style lenses — check compatibility if you have LED or HID housings; costs more than the budget sanding kits.
Best for: Beginners who want the easiest, safest restoration with the longest-lasting protection.
2. SYLVANIA Headlight Restoration Kit — Best Finish
#2 · Best Finish
Rating: top-rated by thousands of Amazon buyers; independent testing has noted it produced the biggest improvement in light output
- 3-step process: surface activator softens the plastic, then 400/1000/2000-grit sanding and polishing, finished with an exclusive UV Block clear coat
- Large sanding sheets are easy to handle and reduce the risk of scratching paint
- No power tools required — the whole job is done by hand
- Clear coat protects against future yellowing and hazing
Pros: The multi-grit sanding + activator combo delivers one of the most thorough restorations available; the UV clear coat is a real protective layer, not a thin sealant wipe; excellent before/after reports from reviewers.
Cons: More steps and more time than wipe-only kits; the clear coat needs 4–6 hours to cure undisturbed, so plan ahead; requires careful masking and steady hand-sanding.
Best for: Beginners willing to spend an extra hour for the most dramatic, longest-looking results.
3. 3M Headlight Lens Restoration System 39008 — Best for Heavy Yellowing
#3 · Best for Heavy Yellowing
Rating: one of the longest-running and most-reviewed headlight kits on Amazon
- Drill-activated sanding: 500-grit gold discs, 800-grit finishing discs, and a Trizact 3000-grit refining disc
- Rubbing compound and foam pad buff out fine scratches for a polished finish
- Designed for the harshest yellowing and buildup other kits can't touch
- 3M's official 39008 system page confirms the contents and process
Pros: The drill power makes short work of severely oxidized lenses; professional-grade 3M abrasives give a very controlled, even finish; great value for the amount of material included.
Cons: Requires your own drill (not included) — no drill, no 3M; demands masking tape and a steady hand, since a slipping drill pad can scuff paint; not the pick for lightly hazed lenses that don't need this much muscle.
Best for: Cars with seriously yellowed, neglected headlights — especially if you already own a drill.
4. Turtle Wax Headlight Lens Restorer Kit (T-240KT) — Best Budget
#4 · Best Budget
Rating: 4.1/5 · from ~9,300 Amazon ratings
- Multi-step kit: sanding pads, lubricant, clarifying compound, and sealing wipes
- Removes oxidation, yellowing, and surface scratches
- Lowest price among the reputable brand-name kits
Pros: The cheapest way to get a real restoration kit from a trusted brand; straightforward process that beginners can follow; solid first results on mild-to-moderate haze.
Cons: The abrasive pads are small, making the hand-sanding tedious on large lenses; the wipe-on sealant has a shorter effective life than a dedicated clear coat or ceramic coating, so results may fade faster; independent tests found it improved lenses nearly as well as premium kits at first, but with less durable protection.
Best for: Tight budgets and lightly hazed lenses — a solid entry point into headlight restoration.
Comparison table
| Kit | Type | Tools needed | Approx. time | Best for |
|---|---|---|---|---|
| CERAKOTE | Wipes + ceramic coating | None | ~30 min | Easiest long-lasting restore |
| Sylvania | Sanding + clear coat | None (hand-sanding) | ~60–90 min | Biggest improvement in clarity |
| 3M 39008 | Drill-powered sanding | Household drill | ~60–90 min | Heavy yellowing |
| Turtle Wax T-240KT | Sanding pads + sealant | None | ~45–60 min | Budget / mild haze |
Our verdict
For most beginners, the CERAKOTE Ceramic kit is the sweet spot: no drill, a quick 3-step process, and a ceramic UV coating that keeps lenses clear far longer than wipe-on sealants. If your headlights are badly yellowed and you're comfortable with more elbow grease (or you own a drill), the Sylvania or 3M 39008 kits go further. And if you just need a cheap fix for light haze, Turtle Wax does the job at the lowest price.
Whichever you choose, don't skip the prep: wash the headlights with a proper car wash soap, mask the surrounding paint with tape, work in the shade, and let any clear coat cure fully. Add it to your routine alongside regular car cleaning — headlights pick up road film just like paint does, and a periodic wipe-down with a spray sealant helps the restoration last.