
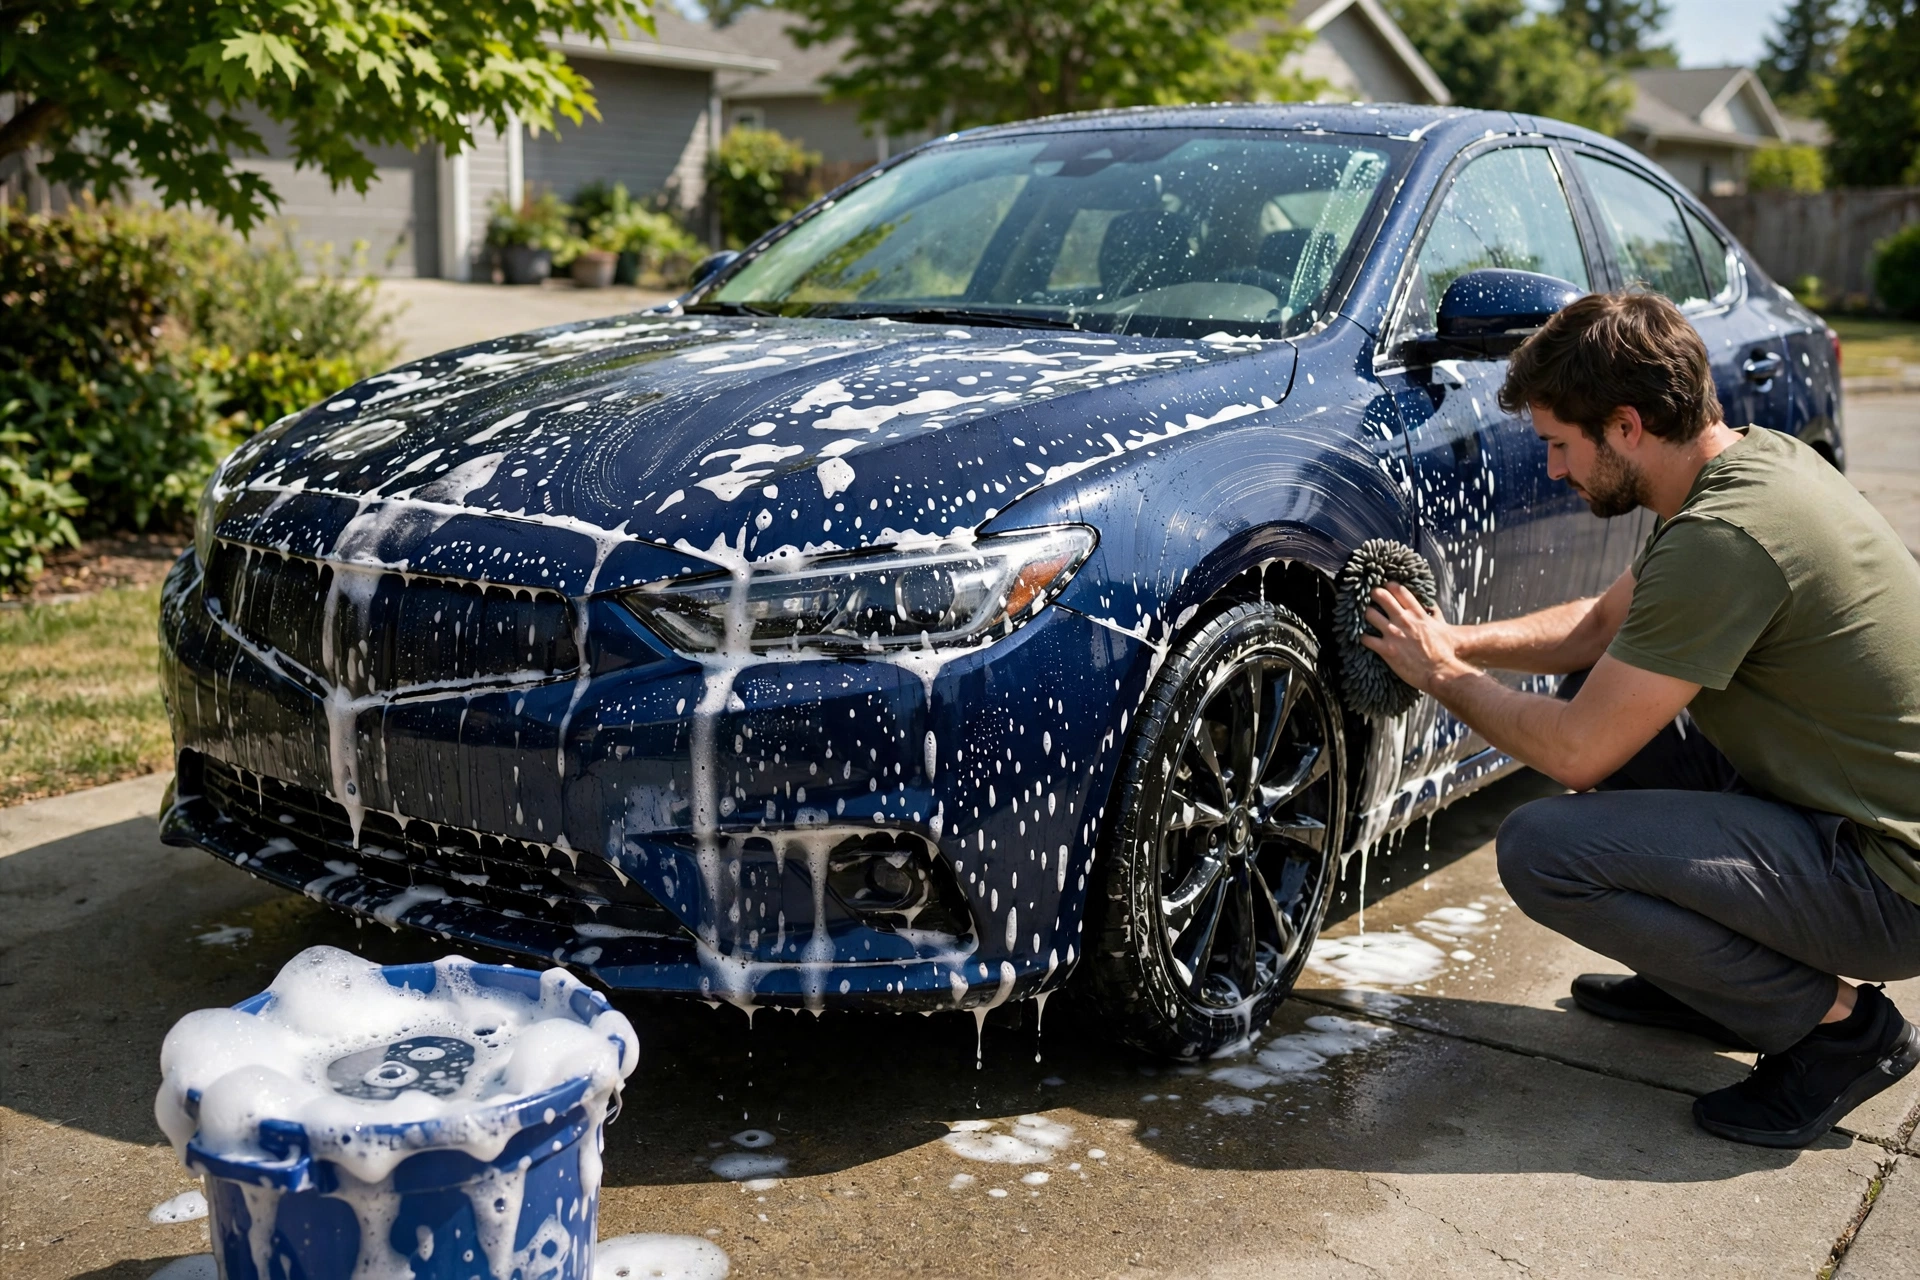
Look closely at your car's paint in direct sunlight. See those faint circular scratches — the spider-web pattern detailers call "swirl marks"? Most of them did not come from the road, a parking lot, or bad luck. They came from washing.
Here is the good news: swirl marks are almost entirely preventable. The damage is not caused by washing your car — it is caused by washing it the wrong way. Every mistake below is one beginners make every week, and every one has a simple fix. Fix the habits, use the right products, and your paint will still throw back a clean reflection years from now.
Affiliate disclosure: This post contains affiliate links. As an Amazon Associate, FirstCarCare earns from qualifying purchases made through links on this page — at no extra cost to you. We only recommend products we believe genuinely help beginner car owners.
Why washing causes most paint scratches
Your car's clear coat — the transparent top layer over the paint — is thin and surprisingly soft. Dirt, road dust, and brake dust are all abrasive. When grit gets trapped between your wash mitt or towel and the paint, it acts like fine sandpaper. One bad wash leaves marks you can barely see. Fifty bad washes leave a hazy, dull finish that only machine polishing can fix.
The rule behind every fix in this guide is simple: never drag dirt across dry or dirty paint, and never let a dirty tool touch the paint. Keep that in mind and the ten mistakes below will make sense.
1. Washing a dirty car without rinsing first
The mistake: Going straight at a dusty car with a soapy mitt. The loose dirt sitting on the paint gets dragged across the surface with every wipe.
Why it scratches: Loose grit is the most abrasive thing that touches your paint. A mitt full of shampoo does not protect the paint from it — the grit is still there, grinding away under your hand.
Do this instead: Rinse the whole car thoroughly with a hose or pressure washer on a wide fan setting before you touch it. Get the roof, bonnet, and lower panels. If the car is very dirty, let the water soak for a minute first. Rinsing removes most of the loose dirt, so your mitt only deals with what is left.
2. Using dish soap instead of car shampoo
The mistake: Reaching for the washing-up liquid under the kitchen sink because it cuts grease and it is already there.
Why it scratches: Dish soap is designed to strip grease — and it strips your wax and sealant too, leaving the paint unprotected. Worse, it has almost no lubrication, so your mitt drags across the paint with more friction. Some dish soaps also dry out rubber seals and trim.
Do this instead: Use a pH-balanced car shampoo. It is made to lift dirt while keeping wax intact, and its suds act as a lubricant between the mitt and the paint. A bottle lasts months, and it costs less than a single professional wash. See our guide to the best car wash soaps for beginners for the full comparison.
3. Using one bucket for everything
The mistake: Rinsing your dirty mitt in the same bucket you dip it into for fresh shampoo. Every dip reloads the mitt with the grit you just removed.
Why it scratches: The dirt you wash off does not disappear — it floats in the bucket. Dunking the mitt back in picks it straight back up, and you rub it over the next panel.
Do this instead: Use the two-bucket method: one bucket holds clean shampoo solution, the other holds plain rinse water. Dunk the mitt in the rinse bucket first, rub it against a grit guard or the bucket bottom, then dip it into the shampoo bucket. Two cheap buckets are the best paint-protection investment you will ever make.
4. Washing with a sponge or an old rag
The mistake: Using a flat kitchen sponge or an old cotton T-shirt as a wash tool.
Why it scratches: A sponge has a flat surface that traps dirt between the sponge and the paint, pressing grit straight into the clear coat. Old rags and T-shirts are the same — and cotton seams and buttons are worse.
Do this instead: Use a microfiber wash mitt. The long fibres pull dirt away from the paint and hold it deep inside the mitt, away from the surface. Rinse the mitt often and replace it when it starts to look tired. Never use a mitt that has been dropped on the ground — pick up a fresh one.
5. Drying with a bath towel or an old chamois
The mistake: Drying the car with a household bath towel, an old T-shirt, or a stiff, dried-out chamois.
Why it scratches: Bath towels have hard, coarse loops that snag and scratch. Old chamois leather dries stiff and drags any leftover grit across the paint. Drying is when many people undo a careful wash — because the paint looks clean, they assume it is, and drag a rough towel over invisible dirt.
Do this instead: Dry with a clean, plush microfiber drying towel. Lay it flat on the panel and pat or glide it gently — do not scrub. Keep a few clean towels on hand so you never reuse a dirty one mid-dry. Our best microfiber towels for car detailing guide compares the best options.
6. Wiping dust off dry paint
The mistake: Giving the car a quick wipe with a dry cloth or a car duster to tidy it up before a drive, or wiping dust off with a quick detailer spray on a dirty surface.
Why it scratches: Dry dust is highly abrasive. Wiping it with any cloth — even a microfiber one — drags sharp particles across the paint. Quick detailer sprays are finishing products for clean paint, not cleaners for a dusty car.
Do this instead: If the car is dusty, wash it properly or leave it alone. A dusty car looks worse than a dirty one for a day; a swirled car looks worse for years. If you must remove light dust between washes, use a proper waterless wash product on a clean microfiber towel, panel by panel, with a fresh towel face for each pass.
7. Washing in direct sunlight
The mistake: Washing at midday in full sun, or letting the car sit soapy while you fetch another bucket.
Why it scratches: Sun bakes shampoo and water onto hot panels before you can rinse. Dried soap leaves streaks and residue that you then have to scrub off — and scrubbing is exactly what causes scratches. Hard water spots can even etch the clear coat if they dry in the sun.
Do this instead: Wash early in the morning, in the evening, or in the shade. Work one section at a time — wash, rinse, and dry each panel before moving on — so nothing dries on the paint. If the panels feel hot to the touch, wait.
8. Using the same mitt for wheels and body
The mistake: Washing the wheels with the same mitt you use on the paint, or washing the wheels after the body with the same water.
Why it scratches: Brake dust is metallic and extremely abrasive — it is one of the nastiest things that touches your car. One pass with a wheel-contaminated mitt spreads that grit all over your paint.
Do this instead: Keep a separate mitt or brush for the wheels, and wash the wheels first or last — never in the middle of the body wash. Never let wheel tools and body tools mix. Mark them with different colours if it helps.
9. Scrubbing bugs, bird droppings, and tar
The mistake: Attacking dried bugs, bird droppings, or tar spots with hard scrubbing and a rough cloth.
Why it scratches: Dried-on grime is bonded to the paint. Scrubbing grinds it in. Bird droppings are worse — they are acidic and can etch the clear coat if left sitting, and scrubbing a dried dropping drags the grit in it across the paint.
Do this instead: Soak first, wipe later. Lay a damp microfiber towel over the spot for a few minutes, or spray it with a bug and tar remover, and let the product do the work. Then wipe gently with a clean towel. For bird droppings, remove them as soon as you notice them — a quick rinse and a soft wipe beats a hard scrub every time.
10. Waxing or sealing over dirty paint
The mistake: Applying wax or a ceramic spray coating over a car that has not been properly washed and dried first.
Why it scratches: Wax locks in whatever is underneath it — including the dirt and grit you just sealed onto the paint. The waxing motion then drags that trapped dirt across the surface, and the coating seals the damage in.
Do this instead: Always wash and dry the car fully before waxing. A clean, dry surface lets the wax bond properly, which gives a better shine and longer protection. Think of it as painting a wall: the preparation is the job. For the full picture, see our best car wax sprays and sealants for beginners.
The 5 products that prevent these mistakes
You do not need a garage full of gear to wash safely. These five products — all from our live catalogue — cover the fixes in this guide: a slick shampoo, clean microfiber, and a protective layer on top. Each one solves a specific mistake above.
#1 — Best all-round shampoo
Meguiar's Gold Class Car Wash, 64 oz
Rating: 4.8/5 · from ~17,800 Amazon ratings
A pH-balanced shampoo with rich, slick suds that lift dirt without stripping wax. The lubrication it provides is exactly what stops your mitt dragging grit across the paint. Fixes mistakes #2 and #7 — it rinses clean and will not bake into streaks the way dish soap does.
Pros: Gentle on wax and sealant; thick, slick lather; easy rinse; a 64 oz bottle lasts months.
Cons: Costs more than basic soaps; heavy use drains the bottle faster than you expect.
Best for: Beginners who want one safe, no-thinking-required shampoo.
#2 — Best budget foam shampoo
Chemical Guys Mr. Pink Super Suds Car Wash, 64 oz
Rating: Top-rated by verified buyers on Amazon
Mr. Pink is built for slickness — the thick foam it produces is a cushion between your mitt and the paint, which is the whole point of a safe wash. It works with a foam cannon or a plain bucket, and it is pH-balanced so it will not strip your protection. Fixes mistakes #2 and #3, because a slick wash makes the two-bucket method far more forgiving.
Pros: Very slick, thick foam; great lubrication; pleasant scent; works in foam cannons and buckets.
Cons: Needs correct dilution — too much leaves residue; not a wax or protectant on its own.
Best for: Anyone using the two-bucket method or a foam cannon who wants maximum lubrication.
#3 — Best drying towels
Chemical Guys Premium Microfiber Towels, 12-Pack
Rating: 4.8/5 · from 21,000+ Amazon reviews
Soft, plush, lint-free towels with silk-banded edges — no hard nylon edge to scratch the paint. Twelve towels in the pack means you always have a clean one for drying, wax removal, and glass, instead of reusing the same dirty towel. Fixes mistakes #4, #5, and #6: these are the towels that replace the sponge, the bath towel, and the dry-dusting rag.
Pros: Ultra-soft and scratch-free; silk-banded edges; 12-pack covers wash, dry, and wax; machine washable.
Cons: Must be washed without fabric softener; dark colours show lint until first wash.
Best for: Anyone still drying their car with a bath towel — this is the single biggest upgrade you can make.
#4 — Best budget bulk cloths
Zwipes Microfiber Cleaning Cloths, 36-Pack
Rating: Top-rated by verified buyers on Amazon
Thirty-six cloths for the price of a single takeaway — so there is never an excuse to reuse a dirty towel. Colour-coded cloths also let you dedicate one colour to wheels, one to paint, and one to glass, which fixes mistake #8 for good. They are thinner than premium towels, so use them for wiping and glass rather than as your main drying towel.
Pros: Very cheap per cloth; always a clean one handy; colour coding prevents cross-contamination; machine washable up to 500 times.
Cons: Thinner than premium microfiber; not ideal as a primary drying towel.
Best for: Keeping a fresh clean cloth for every wash — and for separating wheel cloths from paint cloths.
#5 — Best paint protection
Turtle Wax Hybrid Solutions Ceramic Spray Coating
Rating: 4.6/5 · from ~23,000 Amazon ratings
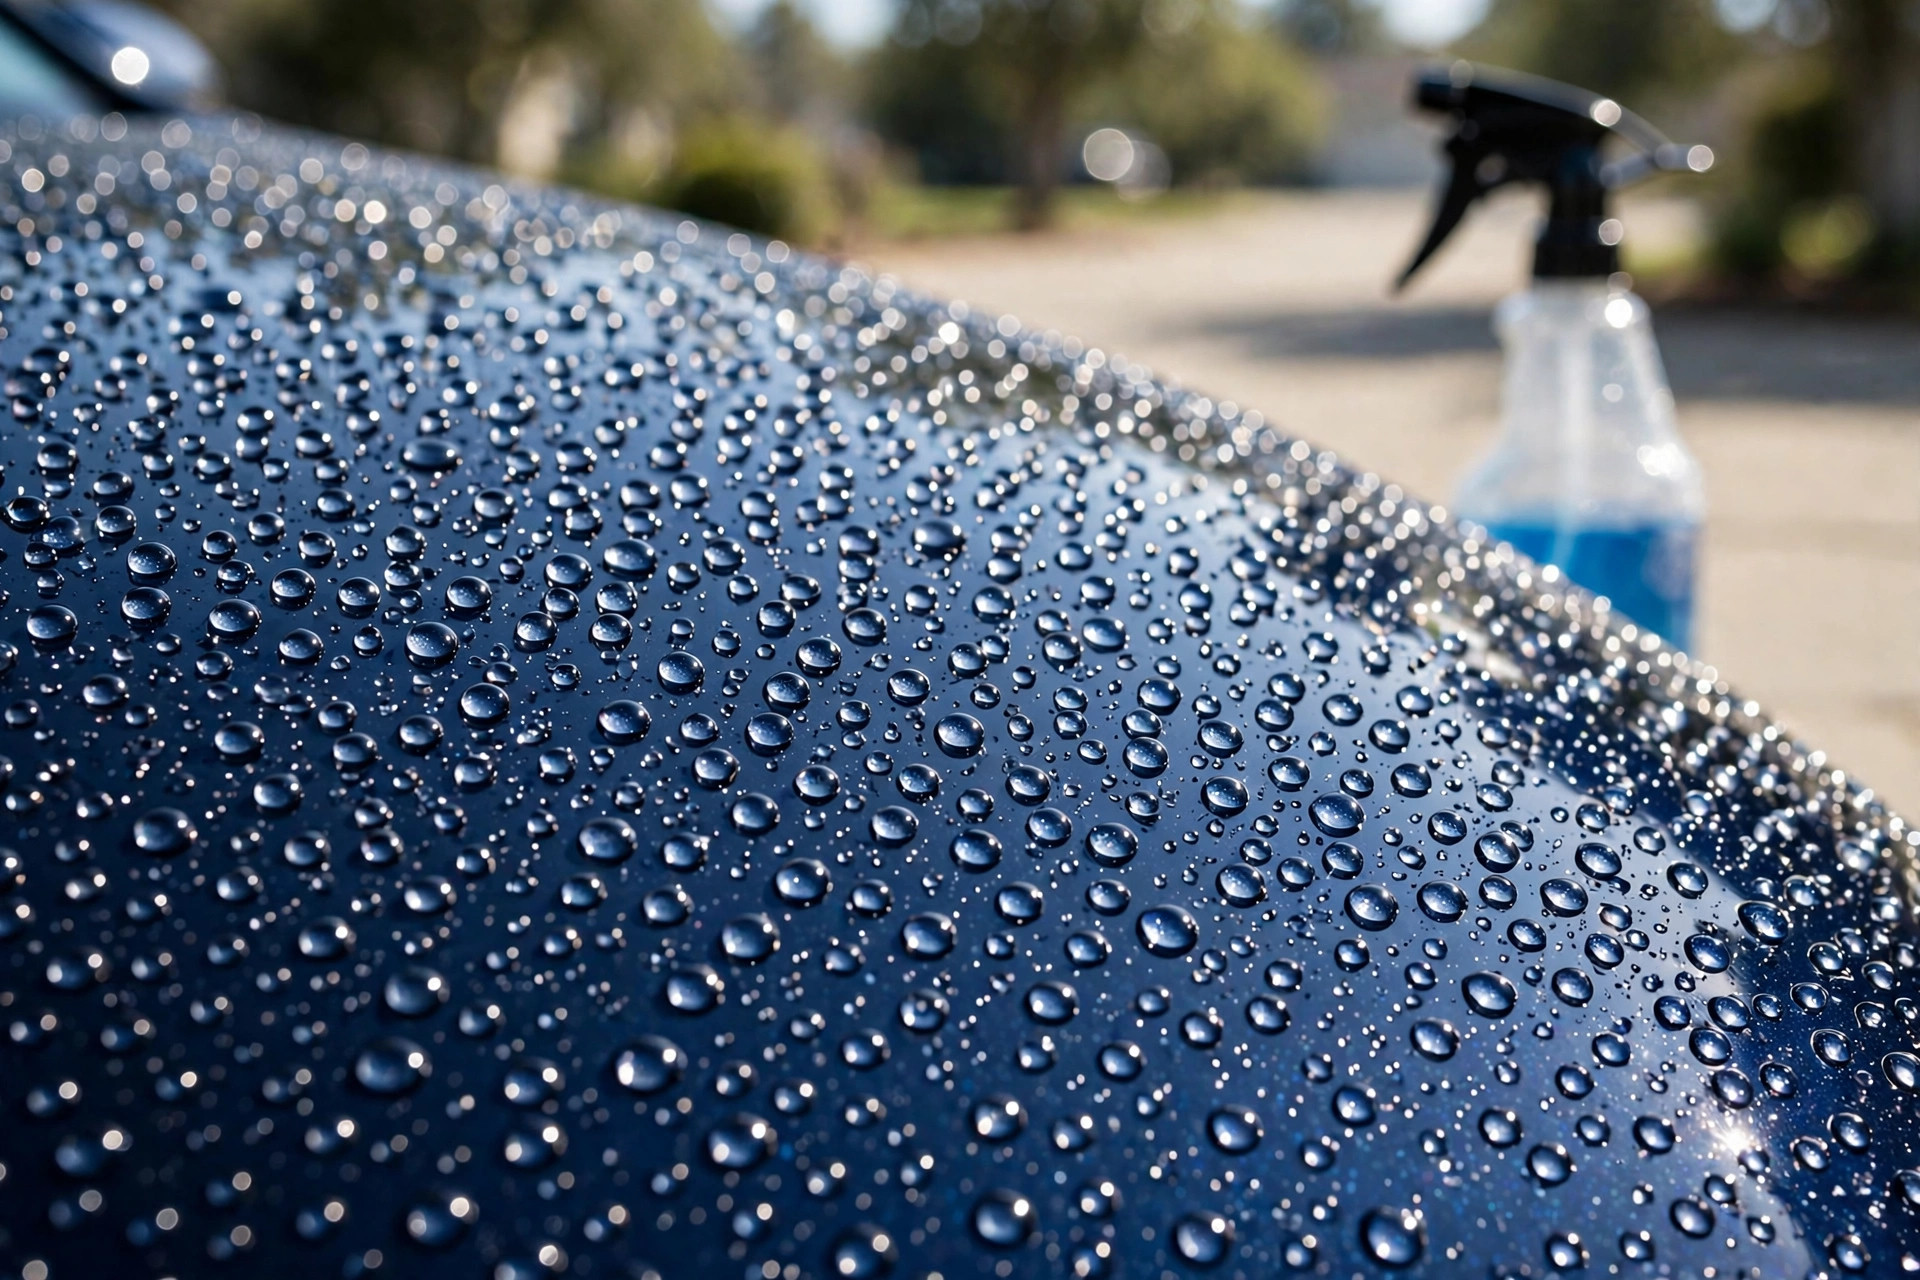
A spray-on ceramic coating that adds a slick, water-beading layer over your paint. That slickness does two things: it makes dirt slide off more easily, so future washes are safer, and it gives you a visible warning — when water stops beading, it is time to reapply. Fixes mistakes #10 and #7, because a protected surface is far more forgiving of the odd imperfect wash.
Pros: Adds months of protection; makes future washes safer; easy spray-on application; strong water beading.
Cons: Must be applied to clean, dry paint; needs reapplication every few months; not a substitute for a proper wash.
Best for: Beginners who want a protective barrier on their paint after fixing their wash routine.
Quick reference: mistake, fix, and product
| Mistake | Fix | Product that helps |
|---|---|---|
| No rinse before washing | Rinse thoroughly first | — |
| Dish soap | pH-balanced car shampoo | Meguiar's Gold Class / Mr. Pink |
| One bucket | Two-bucket method | — |
| Sponge or old rag | Microfiber wash mitt | Chemical Guys microfiber towels |
| Bath towel drying | Plush microfiber drying towel | Chemical Guys microfiber towels |
| Wiping dry dust | Wash properly or leave it | Zwipes 36-pack (fresh cloths) |
| Washing in hot sun | Wash in shade or early/late | — |
| Same mitt for wheels | Separate wheel tools | Zwipes 36-pack (colour coding) |
| Scrubbing bugs and droppings | Soak first, wipe gently | — |
| Waxing dirty paint | Wash and dry first | Turtle Wax ceramic spray coating |
The safe wash routine — a 7-step checklist
Put the fixes together and a safe wash takes about 30 minutes:
- Park in the shade and let the panels cool.
- Rinse the whole car to remove loose dirt.
- Fill two buckets — shampoo in one, rinse water in the other.
- Wash top to bottom with a microfiber mitt, rinsing the mitt in the rinse bucket between panels.
- Wash the wheels last, with a separate mitt.
- Rinse the whole car, then dry immediately with a clean, plush microfiber towel.
- Apply wax or ceramic spray only on clean, dry paint — never on a dirty car.
For the complete step-by-step version, read our guide on how to wash your car properly. And if you want to see what causes swirl marks in more detail, this guide to swirl mark causes and this roundup of common washing mistakes both confirm the same habits.
Verdict: your paint's worst enemy is your wash routine
Almost every swirl mark on a beginner's car comes from the same few habits: skipping the rinse, using dish soap, one bucket, a sponge, a bath towel, or waxing a dirty car. None of these are hard to fix, and none of them cost much. A pH-balanced shampoo, a two-bucket wash, and a few clean microfiber towels will keep your paint looking new for years — and a ceramic spray coating on top gives you a safety net for the days your technique is not perfect.
Start with the towels. If you change one thing this weekend, make it that: throw out the bath towel and the sponge, and dry your car with a clean microfiber towel. Your paint will thank you every time the sun hits it.
Frequently asked questions
Can I fix swirl marks myself?
Light swirl marks can often be reduced with a hand polish or a dual-action polisher and a fine polish, but it takes time and care. Deep scratches that catch your fingernail usually need a professional. Prevention is far cheaper and easier than correction — a safe wash routine costs less than one professional polish.
Is dish soap really that bad for car paint?
Yes. Dish soap is made to strip grease, so it strips wax and sealant from your paint and dries out rubber seals and trim. It also has almost no lubrication, so your wash mitt drags across the paint with more friction. A pH-balanced car shampoo costs little, lasts months, and protects your paint instead of stripping it.
How often should I wash my car?
Every one to two weeks is a good rhythm for most drivers. Wash more often if you park under trees, near the sea, or on dusty roads. Bird droppings and bug splatter should be removed as soon as you notice them — they are acidic and can etch the clear coat if left sitting.
Are automatic car washes safe for my paint?
Touchless automatic washes are much safer because nothing physically touches the paint, though they may leave heavy grime behind. Brush-style tunnel washes are a leading cause of swirl marks — the spinning brushes collect grit from every car ahead of you. A careful hand wash with two buckets is the safest option.
Do I need to wax my car if I use a ceramic spray coating?
A ceramic spray coating is a form of protection, so you do not need both — but you do need to apply it to clean, dry paint and reapply it every few months. Whatever protection you choose, the rule is the same: wash first, protect second, and never seal dirt under a coating.