Your car's lights do two jobs at once: they help you see the road, and they tell other drivers what you are about to do. A dead brake light or a failed indicator can confuse the driver behind you at exactly the wrong moment — and you may not even know it has failed, because most of these lights sit where you cannot see them from the driver's seat. The good news: a full lights check takes about five minutes, needs no tools, and can be done in your driveway. Here is exactly how to do it, light by light.
Before you start: what you need
You need almost nothing: your car, its keys, and a flat place to park. Dusk or a shaded spot makes the lights easier to see, but a daylight check still catches any bulb that is completely out. If you can, ask a friend or family member to stand outside and watch while you work the switches — it turns a five-minute job into a two-minute one. On your own, you can still check everything using the wall-reflection trick explained below.
Park on level ground, switch the engine on, and put the handbrake on. Work through the lights in the same order every time so you never skip one.
Step 1: Headlights — dipped beam and main beam
Turn the headlight switch to dipped beam (your normal night-driving setting). Walk to the front of the car and check that both headlights are on, equally bright, and roughly the same height. One dim or yellowish headlight usually means a bulb is on its way out; one that is completely dark means it has already failed.
Now switch to main beam. Both lights should get noticeably brighter and throw further; if one side stays on dipped beam, that bulb or its wiring needs attention. Do not stare directly into the beams — judge them by the pattern on the ground or a wall.
Also check the lenses themselves. Cloudy, yellowed, or cracked lenses cut your light output even when the bulbs are fine. A quick wipe with a clean cloth removes road grime; heavy yellowing may need a lens restoration kit or a professional polish.
Step 2: Taillights and number plate light
With the headlights still on, walk to the back of the car. Your taillights should both be glowing red at the same brightness. If one side looks pink, white, or dimmer than the other, the bulb is failing or the wrong bulb has been fitted.
While you are at the back, check the small light above or beside your number plate. It is easy to forget, but a working plate light is a legal requirement in most places and it helps other drivers and cameras read your plate at night.
Step 3: Brake lights — including the high-level one
Brake lights are the ones you cannot check alone without a trick, because they only come on when you press the pedal. With a helper, ask them to stand behind the car while you press the brake pedal firmly. All three brake lights should light up brightly: left, right, and the high-level brake light at the top of the rear window or on the boot lid.
On your own, reverse the car close to a wall, garage door, or shop window, then press the brake pedal and watch the red reflection in your mirrors. You should see a bright, even glow. If the reflection is dim on one side or missing entirely, a brake bulb has failed.
Brake lights should be clearly brighter than the taillights. If they look the same brightness, something is wrong — often a dual-filament bulb where one filament has blown.
Step 4: Indicators — front, side, and rear
Turn on the left indicator and walk around the car: front, side (on the wing or mirror, if fitted), and rear should all flash amber at a steady rate. Then do the same on the right. Check your dashboard too — the green arrow should flash at the same steady pace.
A fast-flashing indicator is your car's way of telling you a bulb has blown. The flasher unit speeds up because the circuit's resistance has changed. If you notice rapid flashing on the dashboard, one of the indicator bulbs on that side has almost certainly failed — find it before your next drive.
Finish by pressing the hazard warning button. All four corner indicators should flash together at the same rate. This single check confirms every indicator circuit at once, which is why it is a great quick test before a long trip.
Step 5: Reversing lights and fog lights
With the engine running, handbrake firmly on, and your foot on the brake, select reverse gear. The white reversing light (or lights) at the rear should come on. Never get out of the car while it is in gear — use a helper, or check the reflection in a window or wall behind you.
Fog lights need the headlights switched on first on most cars, so check your handbook if they do not seem to work. Switch on the front fog lights (if fitted) and confirm both glow, then the rear fog light, which should show as a single bright red light at the back. Remember to switch fog lights off again afterwards — driving with rear fog lights on in clear weather dazzles the drivers behind you.
Step 6: Daytime running lights and dashboard warning lights
If your car has daytime running lights (DRLs), turn the headlights off and check that both DRLs come on with the ignition. They are usually dimmer than dipped beam and sit at the front of the car. Finally, glance at your dashboard with the ignition on for any bulb-failure warning symbol.
Your 5-minute lights checklist
- Headlights: dipped beam and main beam, both sides, equal brightness
- Taillights: both glowing red, same brightness, plus the number plate light
- Brake lights: left, right, and high-level — all bright when the pedal is pressed
- Indicators: front, side, and rear on both sides, steady flash rate, plus hazards
- Reversing light: bright white light at the rear when reverse is selected
- Fog lights: front and rear working (if fitted), switched off after the check
- Lenses: clean, uncracked, and free of condensation or heavy yellowing
What to do when you find a failed light
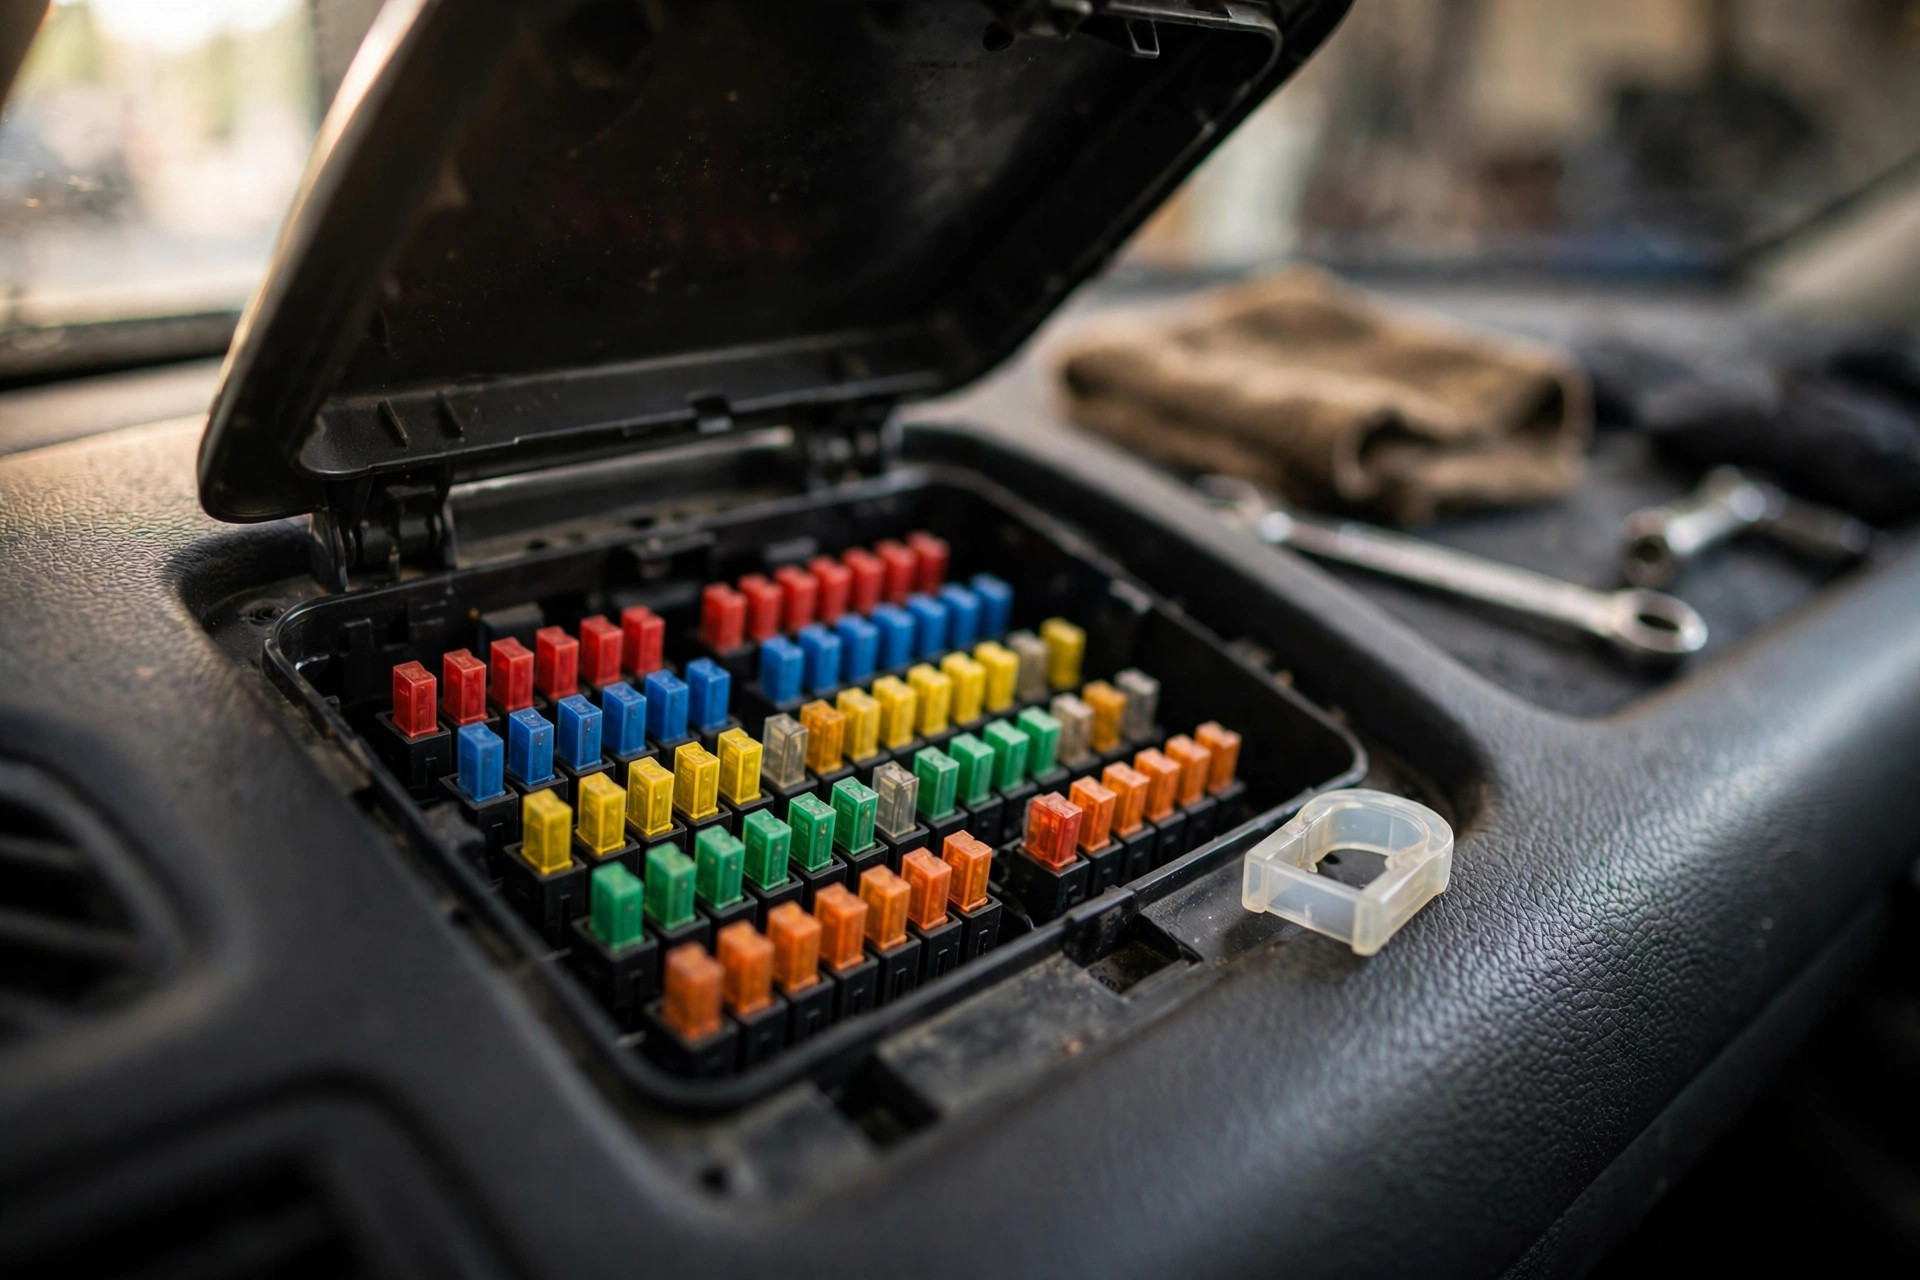
Most bulbs are cheap and quick to replace, and many are a genuine beginner DIY job — our guide to changing a headlight bulb yourself walks through the process. If the bulb looks fine but the light still does not work, the problem may be a blown fuse; our guide to car fuses explains how to check and replace one safely.
See a mechanic promptly if: the same bulb keeps failing, you find melted wiring or a damaged connector, water is pooling inside a light unit, or the light is an LED unit sealed into the assembly (these usually need professional replacement). And if a brake light or headlight has failed, avoid night driving until it is fixed — it is both unsafe and, in many places, illegal.
For lights that matter most in poor visibility, our beginner's guide to driving safely in fog explains how to use your lights correctly when the weather closes in. And to make this check a habit, add it to your monthly car maintenance checklist — five minutes once a month is all it takes.
Two helpful references if you want a second walkthrough: the AAA's 7-step wall-check method for checking lights from the driver's seat, and BookMyGarage's car lights checklist, which covers each light in order.
Frequently asked questions
How often should I check my car's lights?
Once a month is a good routine for most drivers, plus a quick check before any long trip or night drive. Bulbs can fail without warning, so a monthly check catches failures before they become a safety problem or a fine.
Can I check my brake lights on my own?
Yes. Reverse close to a wall, garage door, or large window, press the brake pedal, and watch the red reflection in your mirrors. You should see a bright, even glow on both sides. A helper standing behind the car is easier, but the reflection trick works well on your own.
Why is my indicator flashing really fast?
Fast flashing almost always means an indicator bulb on that side has blown. The flasher unit speeds up when the circuit changes. Check the front, side, and rear indicators on that side to find the dead bulb, then replace it.
Is it illegal to drive with a light out?
In most countries and states, yes — headlights, taillights, brake lights, and indicators are all legally required to work. You can be fined, and more importantly, a failed light makes you harder to see and harder to predict for other drivers. Fix it before your next drive, especially at night.
Do I need to replace headlight bulbs in pairs?
It is good practice. Bulbs fitted at the same time tend to age together, so when one fails the other is often close behind. Replacing both keeps the brightness and colour matched, and saves you repeating the job a few weeks later.
Conclusion
Five minutes, once a month, is all it takes to make sure every light on your car is doing its job. Walk around the car in the same order every time — headlights, taillights, brake lights, indicators, reversing and fog lights — and use the wall-reflection trick for the lights you cannot see from the driver's seat. A failed bulb is usually a cheap, quick fix, but only if you catch it. Make this check a habit, and you will never be the driver unknowingly braking in the dark with no brake lights.