
A burnt-out headlight is more than an annoyance. It cuts your night visibility in half, makes your car harder for other drivers to see, and in most places it can earn you a traffic ticket. The good news: on most cars, changing a headlight bulb is one of the easiest DIY jobs there is. With the right bulb and about 15 minutes, a complete beginner can do it in the driveway — no mechanic, no special tools, and no experience needed.
This guide walks you through the whole job: finding the correct bulb, removing the old one without breaking anything, fitting the new one, and testing it before you drive. It also tells you honestly when the job is not a beginner DIY.
First, find the right bulb for your car
Headlight bulbs are not universal. Your car takes a specific bulb size and type, and fitting the wrong one can mean it won't lock in place or will glare badly and blind other drivers. Get this step right and the rest of the job is easy.
There are three ways to find your bulb size:
- Check your owner's manual. Look in the index under "headlight bulb" — it lists the exact size, often something like H11, 9005, or H7. If you haven't read your manual before, our guide on how to read your car's owner's manual shows you exactly where to look.
- Use an auto parts store's fitment guide. Enter your car's year, make, and model and it tells you the bulb size. Staff can usually look it up in seconds too.
- Look at the old bulb. The size is usually printed on the metal base — but this means two trips to the store, so buy first if you can.
Most cars use halogen bulbs — the standard, affordable type. Some newer cars use LED or HID (xenon) bulbs, which cost much more: a halogen bulb typically runs around $15–$20, while an HID bulb can cost $100 or more. Stick with the same type your car came with — swapping types without the right housing can create dangerous glare.
Buy two bulbs, not one. Headlight bulbs age together, so when one burns out, the other is usually close behind. Replacing both keeps your light output even on both sides, and you won't be repeating the job in a few weeks.
Tools you'll need
- The correct replacement bulb (or pair)
- A pair of clean gloves — nitrile, latex, or cotton work gloves
- A flashlight or your phone's torch, for seeing into the engine bay
- A screwdriver (flathead or Phillips) — only if your car has a cover or clips in the way
- A clean cloth, in case you need to set the old bulb down
For most cars, that's genuinely the whole list. If you open the hood and find you need to remove the bumper or wheel-well liner to reach the bulb, stop — that version of the job is covered below, and it's usually better left to a mechanic.
How to change a headlight bulb: step by step
Work on a flat surface with the engine off and the lights switched off. If you've just been driving, wait a few minutes — the old bulb and the engine bay can be hot enough to burn your fingers.
Step 1: Confirm which bulb has failed
Turn the headlights on and walk around the front of the car. Check low beam and high beam separately — many cars have separate bulbs for each. Note which side needs the new bulb.
Step 2: Open the hood and find the back of the headlight
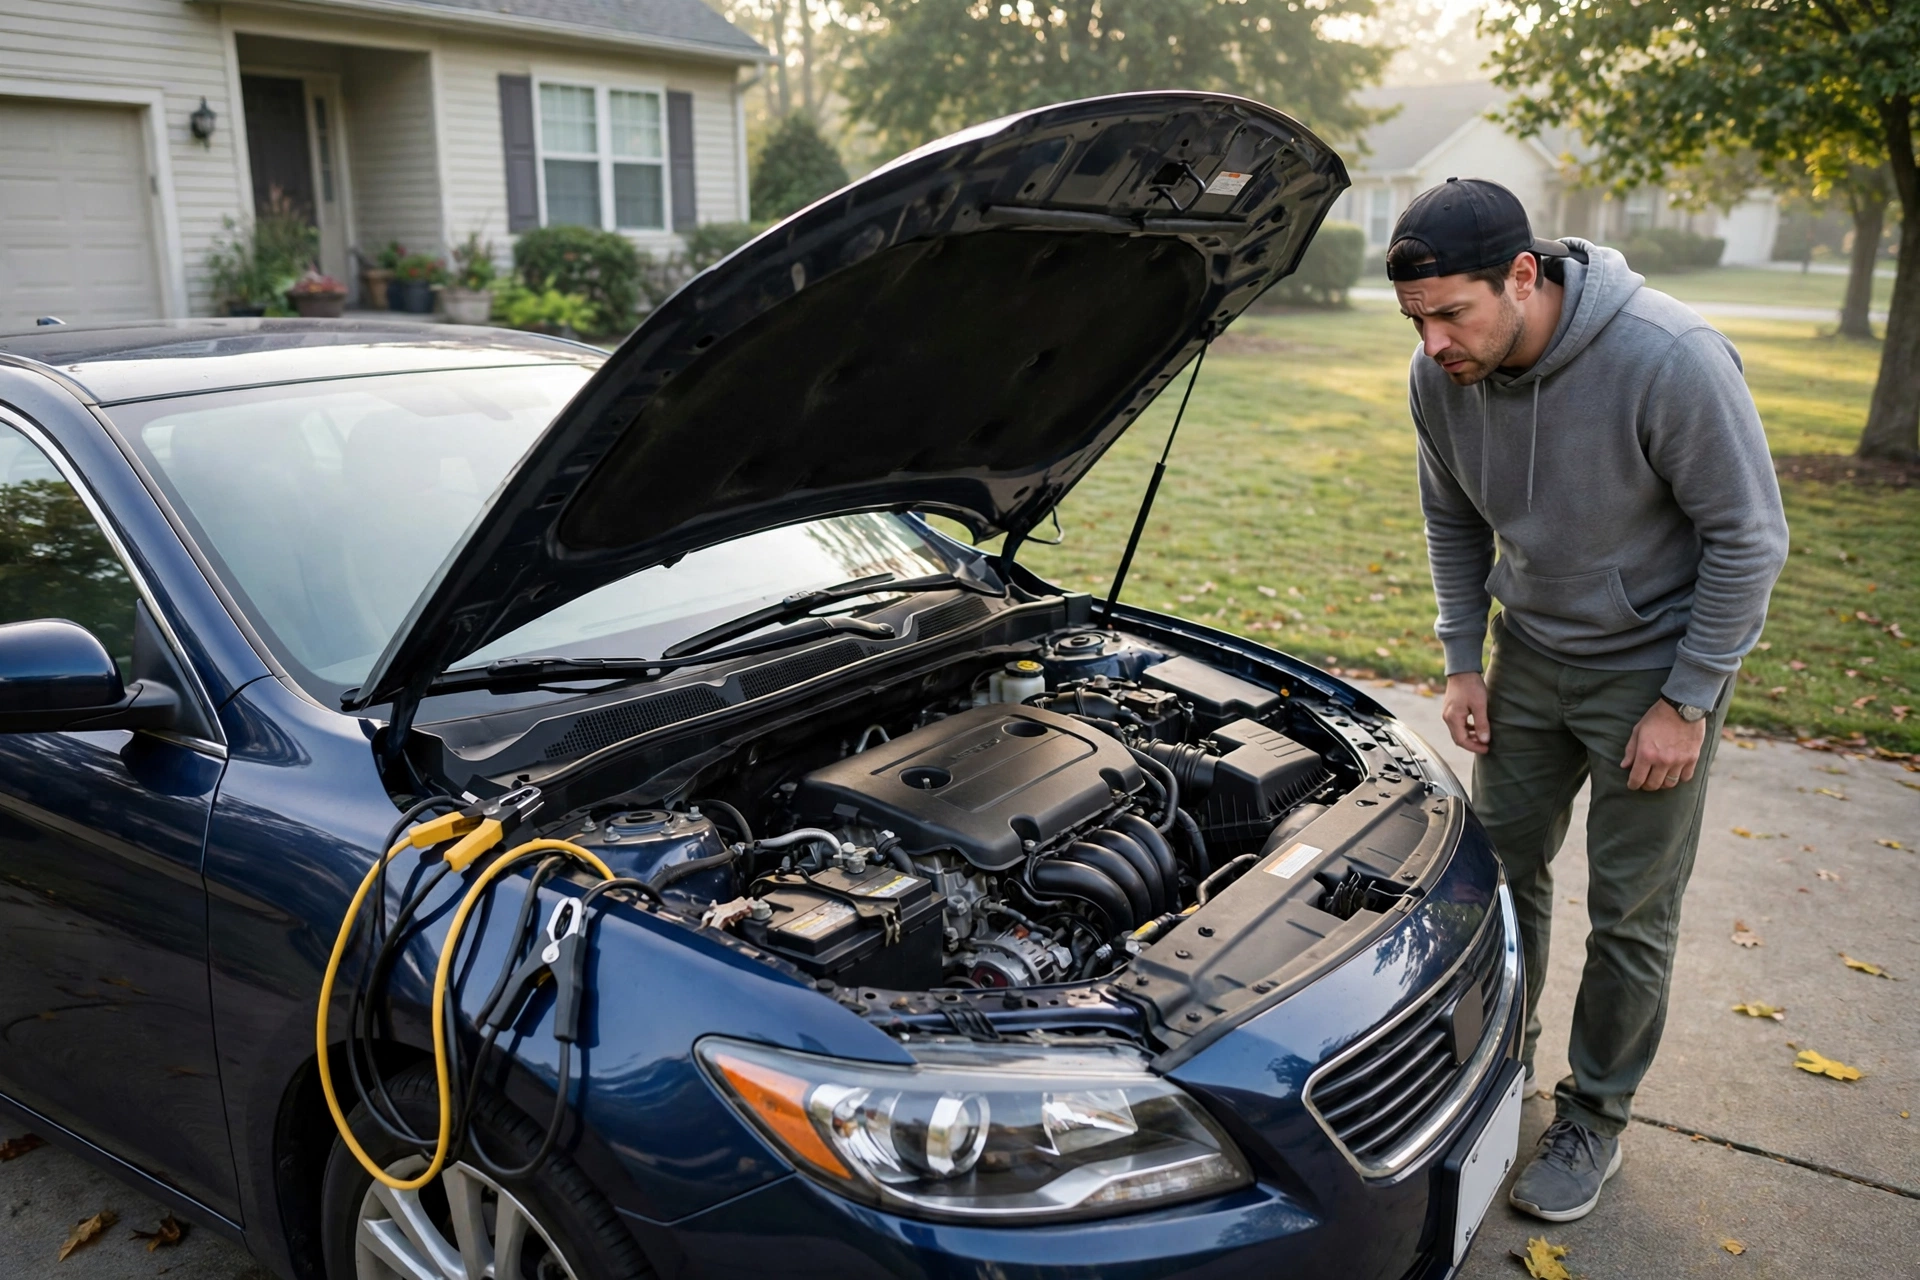
Pop the hood and look behind the headlight housing. You'll see a round or rectangular cover, usually rubber or hard plastic, with wires running into it. That cover is the dust cap protecting the bulb.
Step 3: Remove the dust cover
Twist the cover counterclockwise or unclip its tab. Set it aside somewhere clean. Inside you'll see the back of the bulb with a wiring connector plugged into it, and possibly a thin metal spring clip holding it in place.
Step 4: Unplug the wiring connector
Squeeze the release tab on the plastic connector and pull it straight off the bulb's base. Don't yank the wires — pull on the plastic plug. If it's stiff, wiggle it gently side to side while pulling.
Step 5: Release the old bulb and take it out
Depending on your car, the bulb is held by a metal spring clip or a twist-lock base. Squeeze the clip's ends together and swing it open, or turn the bulb base counterclockwise about a quarter turn and pull it straight out. Note how it was sitting — the tabs only line up one way.
Compare the old bulb with the new one. The base shape and the size printed on it should match. If they don't, stop — you have the wrong bulb.
Step 6: Fit the new bulb — without touching the glass
This is the most important step in the whole job. Never touch the glass of a new halogen bulb with bare hands. The natural oils on your skin leave a residue that creates a hot spot when the bulb lights up, and it can burn out far sooner than it should — sometimes within days. Always wear gloves, or hold the bulb only by its base.
With your gloves on, line the new bulb's tabs up with the slots in the housing, push it in, and twist clockwise (or close the spring clip) until it locks firmly. It should sit flush and not wobble. Plug the wiring connector back on until you hear or feel a click.
Step 7: Test before you close everything up
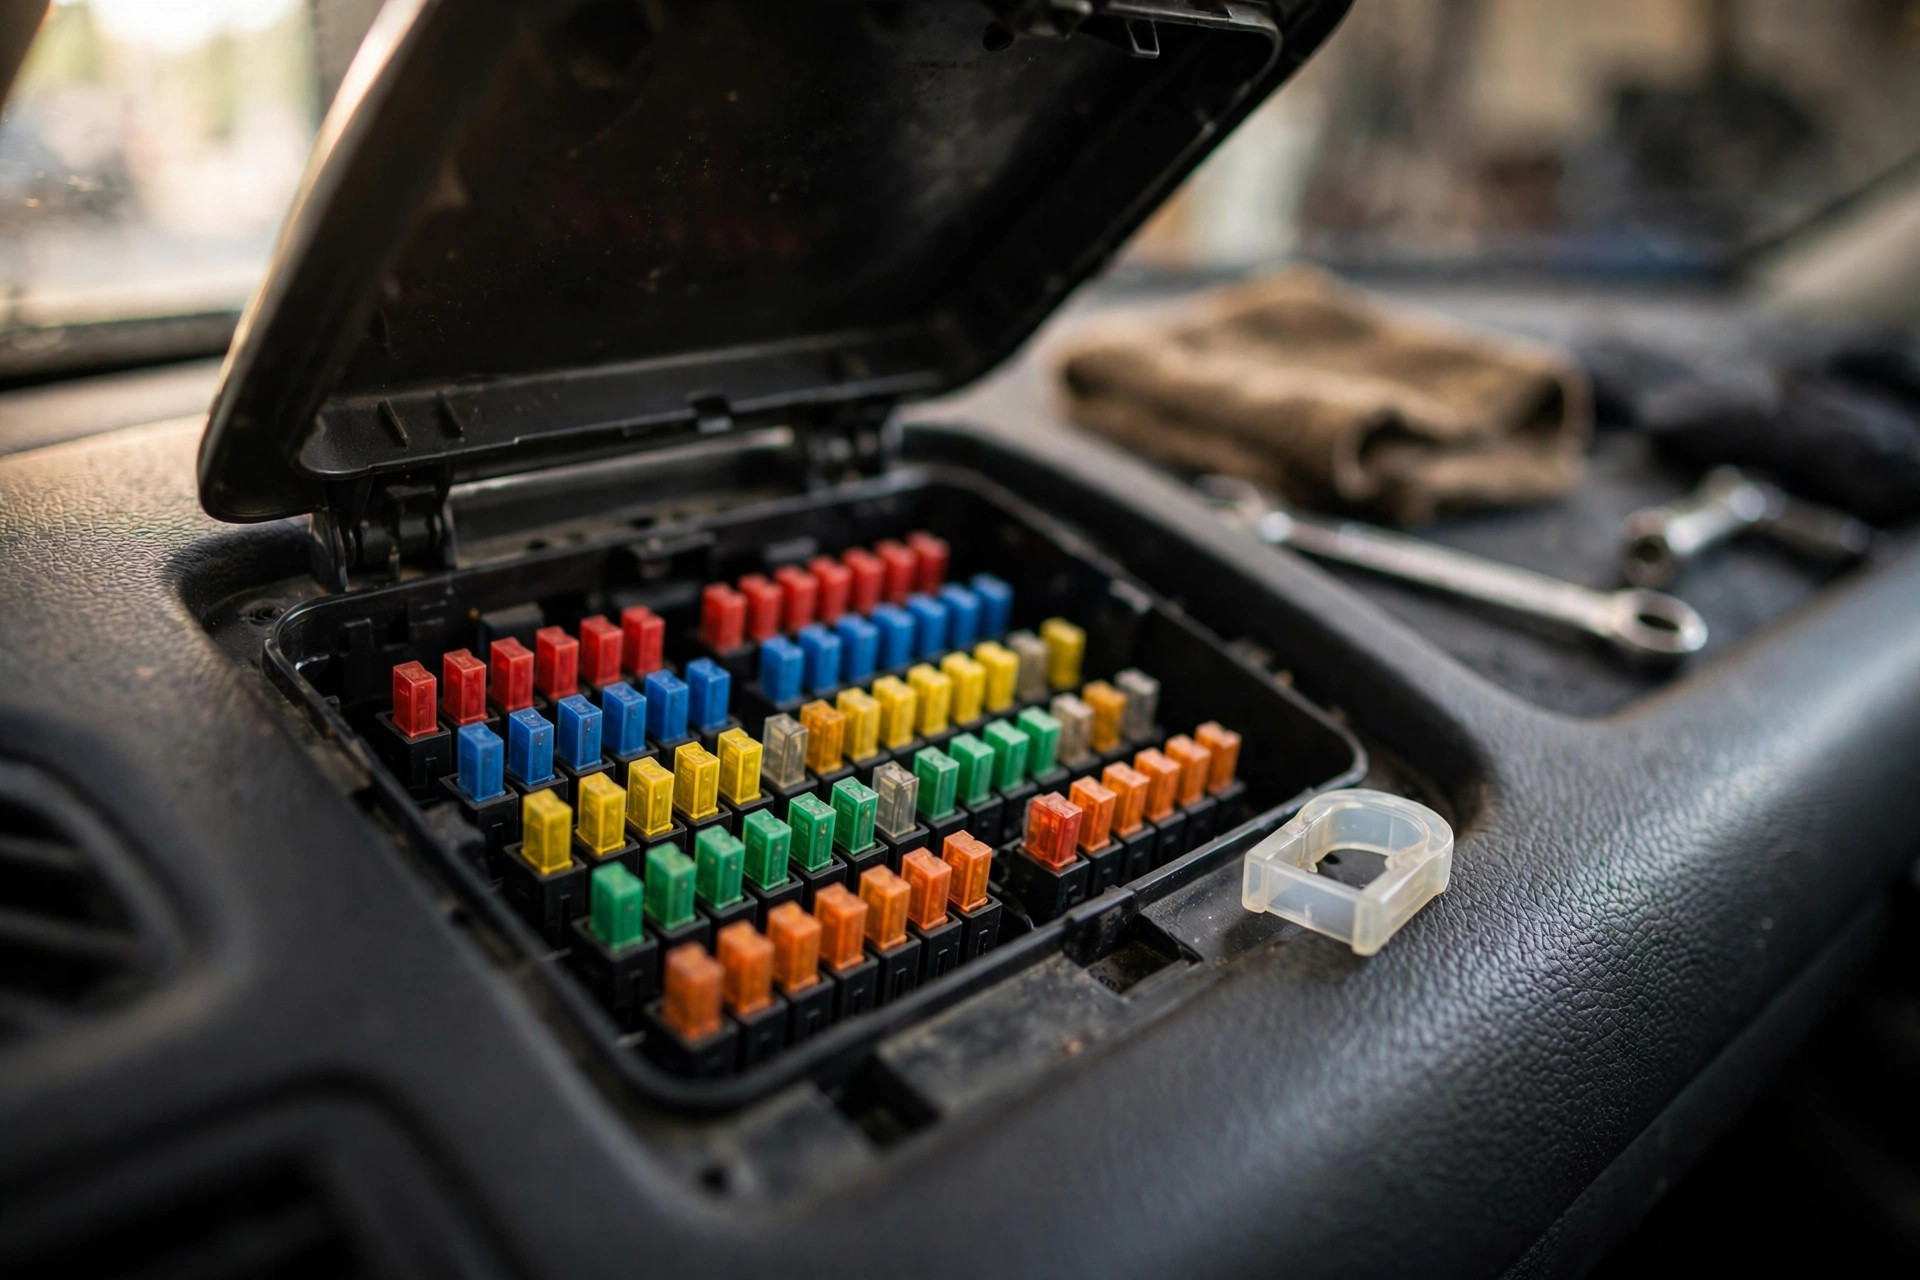
Turn the headlights on and check the new bulb lights up on both low and high beam. If it lights, refit the dust cover, close the hood, and you're done. If it doesn't light, check the connector is fully seated, then check the headlight fuse — our guide to car fuses explained shows you how. A blown fuse is a cheap fix.
When the job is harder than this
On some cars — certain GM, Audi, and newer compact models are famous for it — the bulb is buried behind the bumper or the wheel-well liner, and reaching it means removing body panels. If you open the hood and can't even see the back of the headlight, book a mechanic: a professional will usually charge far less than the cost of a broken clip or a scratched bumper from a DIY attempt. The same applies to LED or HID upgrades, which often need extra wiring or new housings to work safely and legally. If you'd like a second walkthrough before you start, Nationwide's step-by-step headlight bulb guide covers the same process with photos.
Common mistakes beginners make
- Touching the new bulb's glass. The number one cause of a brand-new bulb dying early. Gloves every time.
- Buying the wrong bulb. Confirm the size for your exact year, make, and model — not just the model name.
- Forcing the bulb. If it won't twist in or sit flush, the tabs aren't lined up. Forcing it can crack the base or damage the housing.
- Skipping the test. Always test with the dust cover still off — finding out it doesn't work after reassembly wastes the whole job.
- Replacing only one bulb. The other side is almost certainly near the end of its life too, and mismatched brightness reduces your visibility.
- Ignoring cloudy lenses. If your headlights are yellowed or hazy, a new bulb won't fix the dim light — the lens is the problem. Our guide to the best headlight restoration kits for beginners covers how to clear them up.
Quick headlight aim check after replacing the bulb
A correctly fitted bulb should aim the same as the old one, but it's worth a quick check. Park on flat ground facing a wall or garage door, about 25 feet (roughly 7–8 metres) away, and turn the low beams on. The top edge of each beam should sit at roughly the same height on both sides, and slightly below the centre of the headlight itself. If one beam points noticeably higher than the other, the bulb may not be seated correctly — take it out and refit it. Never drive with a beam aimed into oncoming drivers' eyes; if you can't get it right, a mechanic can aim headlights properly in minutes.
Frequently asked questions
How long does it take to change a headlight bulb?
On most cars, 10–20 minutes for your first time, and under 10 once you've done it. If your car needs the bumper or wheel liner removed, budget an hour or more — or book a mechanic.
Can I change a headlight bulb without any tools?
Often, yes. Many cars use twist-off dust covers and twist-lock bulbs that need no tools at all — just gloves and the new bulb.
Why did my new headlight bulb burn out so quickly?
The most common cause is touching the glass with bare hands — skin oils create a hot spot that shortens the bulb's life dramatically. Other causes include a loose connector or a poor-quality bulb. Always wear gloves and make sure the connector clicks fully into place.
Should I replace both headlight bulbs at the same time?
Yes. Both bulbs were fitted at the same time and have had the same hours of use, so when one fails the other is usually close behind. Replacing both keeps the light output even.
Is it legal to drive with one headlight out?
In most places, no — or at least, you can be fined for it, and it's a genuine safety risk at night. If a bulb fails while you're out, drive home carefully, avoid unlit roads where possible, and replace the bulb as soon as you can.
Conclusion
Changing a headlight bulb yourself is one of the best first DIY jobs for a new car owner: it's cheap, quick, and teaches you how to work under the hood without any real risk. Find the right bulb size, wear gloves so you never touch the glass, fit the new bulb the same way the old one sat, and test it before you close up. And if the bulb is buried behind panels you don't want to remove, there's no shame in letting a mechanic handle it — knowing when to stop is part of being a good car owner too. Either way, don't drive around with a dead headlight: your night vision, and everyone else's safety, depends on both beams working.