



It always happens at the worst moment — you're running late, it's raining, or you're on an unfamiliar road, and suddenly the steering pulls to one side and you hear that awful flapping sound. You have a flat tire.
Here's the good news: changing a tire is one of the most empowering things a new driver can learn. Your car already carries everything you need (usually), the job takes 15–30 minutes, and once you've done it, you'll never feel helpless about a flat again.
One thing to check first: many newer cars no longer come with a spare tire — they have a tire repair kit instead. It's worth confirming what your car has before you need it. Here's the full step-by-step for the classic spare-tire change, plus what to do if you don't have a spare.
What You'll Need
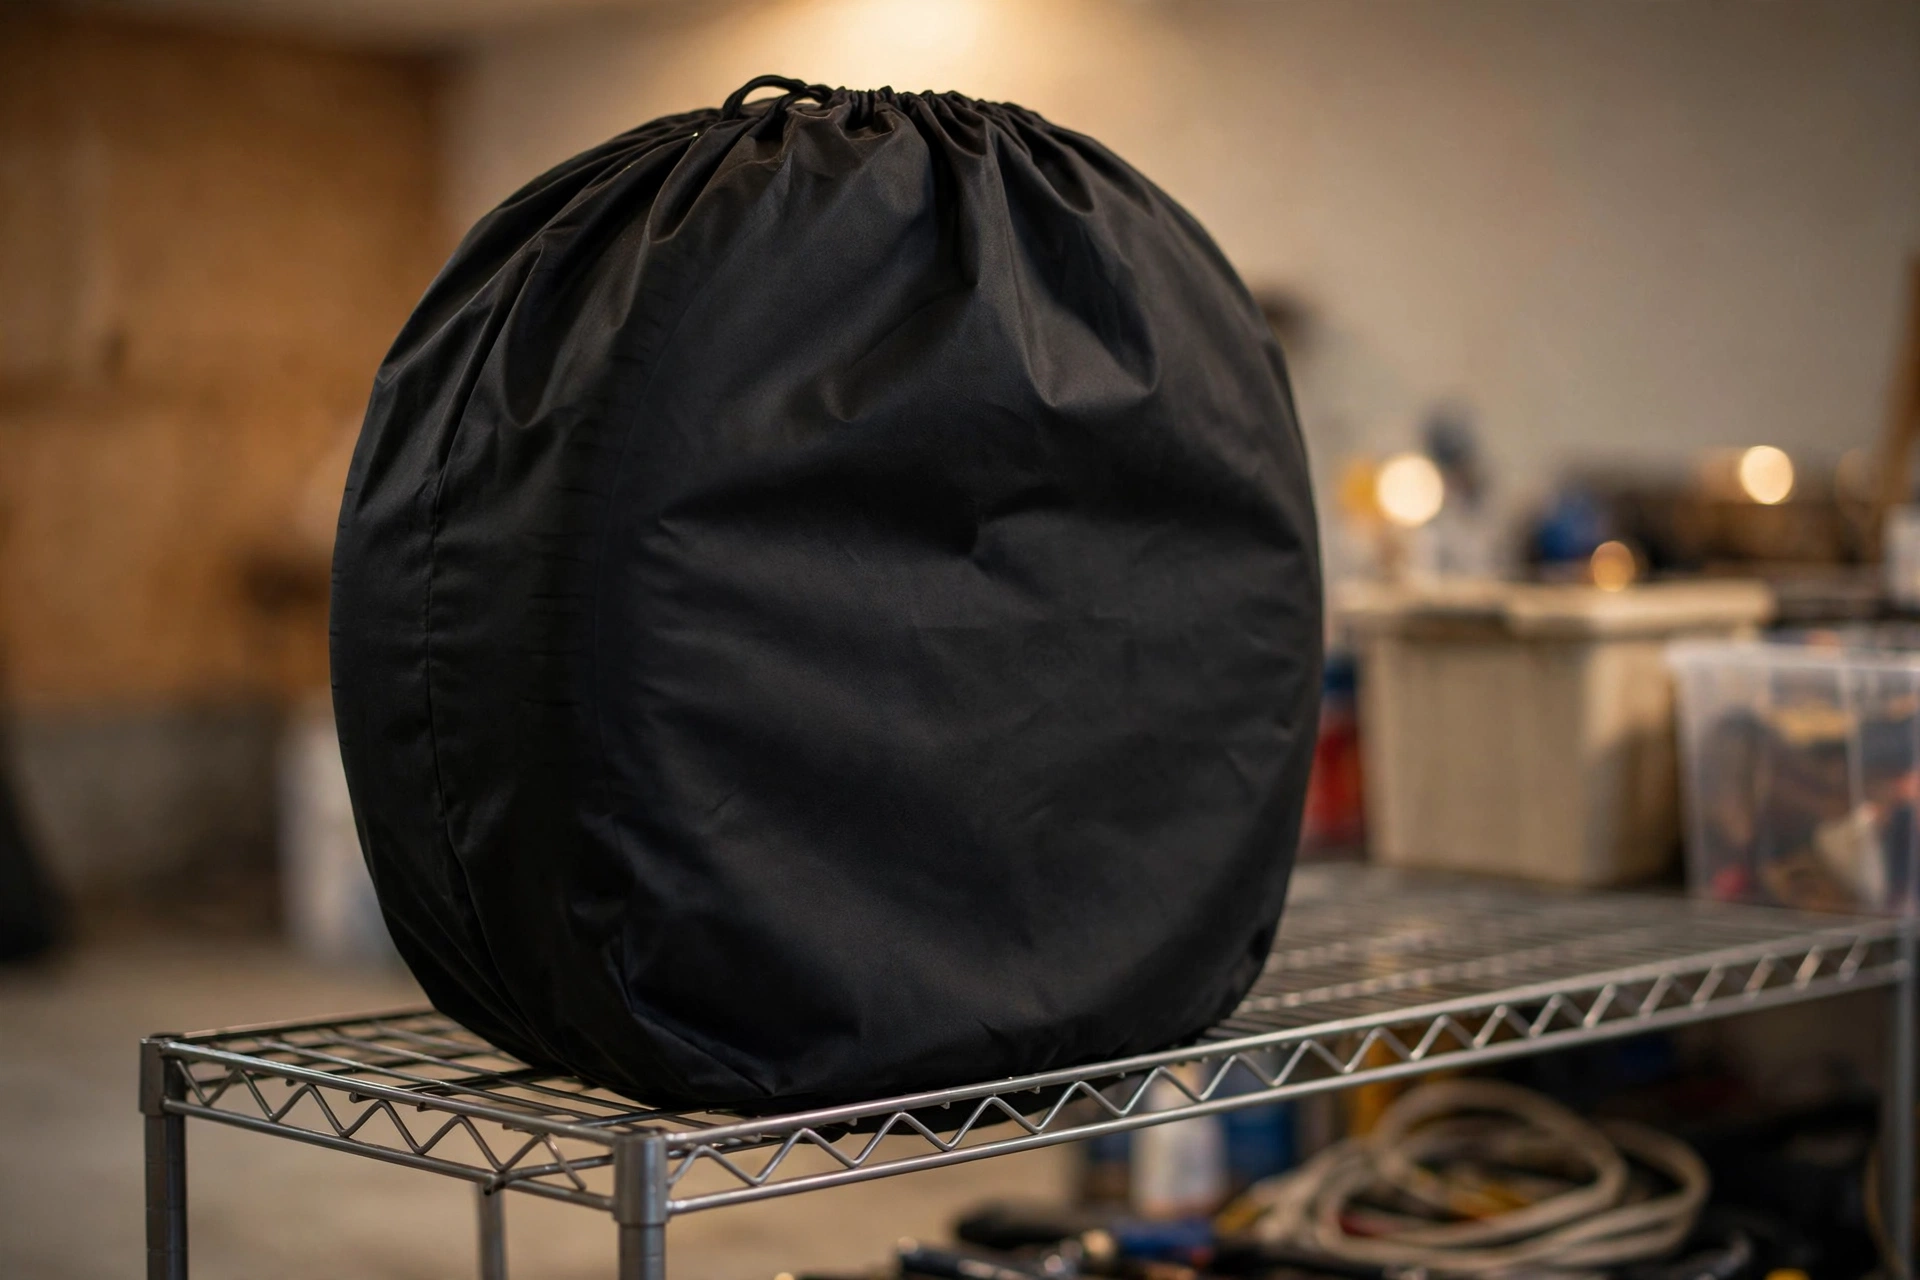
- Spare tire — usually in the trunk under the floor mat, or mounted underneath the rear of the vehicle
- Jack — the small scissor jack that came with your car
- Lug wrench — the L-shaped bar that fits your wheel's lug nuts
- Your owner's manual — this tells you exactly where the jack points are (critical) and where the spare is stored
- Helpful extras: a flashlight, gloves, a reflective vest, and something to kneel on
If you've never looked, go find these tools today, in your driveway, while everything is calm. Knowing where they are is half the battle.
How to Change a Flat Tire: Step by Step
- Get somewhere safe. As soon as you realize the tire is flat, slow down and pull as far off the road as possible — a parking lot or wide shoulder, ideally on flat, firm ground. Turn on your hazard lights. On a highway with no real shoulder, drive slowly with hazards on to the nearest exit rather than changing a tire inches from traffic. Never change a tire on a slope or soft ground like mud or grass — the jack can slip.
- Secure the car. Put it in Park (or first gear / reverse for a manual), set the parking brake firmly, and turn the engine off. Place a wheel chock, rock, or brick behind the wheel diagonally opposite the flat one so the car can't roll.
- Get your tools and the spare. Take out the jack, lug wrench, and spare tire. Check the spare — it should be properly inflated. (A spare that's been sitting in the trunk for years is often low. Here's how often you should check tire pressure, including the spare.)
- Loosen the lug nuts — before jacking. This is the step beginners get backwards. With the wheel still on the ground, fit the lug wrench on a lug nut and turn counterclockwise to loosen. Loosen each nut about a half-turn — just enough to break them free. Don't remove them yet. If a nut won't budge, push down on the wrench with your foot rather than yanking.
- Find the jack point. Check your owner's manual. Cars have specific reinforced spots along the lower edge — jacking anywhere else can damage the car or cause the jack to slip. Place the jack under the jack point nearest the flat tire.
- Jack the car up. Raise the car slowly until the flat tire is about 2–3 inches off the ground. Never put any part of your body under the car while it's on the jack — a small scissor jack is only meant to lift, not to hold the car while you work underneath it.
- Remove the lug nuts and the wheel. Unscrew the lug nuts the rest of the way (keep them together — in your pocket or the hubcap). Grip the flat tire with both hands and pull it straight off.
- Mount the spare. Line up the spare's holes with the wheel studs and push it on. Then screw the lug nuts back on by hand — fingertight is enough for now. Don't use the wrench yet.
- Lower the car. Slowly lower the jack until the spare just touches the ground and bears a little weight, then stop.
- Tighten the lug nuts in a star pattern. Now use the wrench. Tighten in a crisscross (star) order — not clockwise around the circle — so the wheel seats evenly. Give each nut a firm tightening, then lower the car fully, remove the jack, and go around once more in the star pattern to make sure they're snug.
- Stow everything and check your work. Put the flat tire, jack, and wrench back in the trunk. Before driving off, double-check that all lug nuts feel tight.
Driving on a spare: If your spare is a small "donut" (temporary spare), it is not a normal tire. Stay under 50 mph (80 km/h) and drive no more than about 70 miles (110 km) on it — check your owner's manual for your exact limits. Donuts handle, brake, and grip worse than real tires. Get the flat repaired or replaced as soon as possible.
What If You Don't Have a Spare?
You're not alone — a significant share of new cars now ship with a tire inflator and sealant kit instead of a spare. If that's your situation:
- Read your owner's manual to learn how your specific kit works and what kind of punctures it can and can't seal. Most kits only handle small punctures in the tread, not sidewall damage or blowouts.
- Check the kit's expiration date — the sealant usually needs replacing every 4–8 years.
- Know your backup plan: roadside assistance, or a friend with a jack. For sidewall damage or a blowout, a sealant kit won't help, and you'll need a tow or a tire service.
Whatever your car carries, the principle is the same: know where it is and how it works before the emergency.
After the Change: Don't Skip This
- Get the flat repaired or replaced promptly. Many punctures in the tread can be professionally patched or plugged — but sidewall damage always means a new tire.
- Have the lug nuts re-torqued. After about 50–100 miles on the spare (or a new tire), a shop can check the lug nut torque in minutes — many do it free.
- Expect the tire pressure warning light. A donut spare often triggers your car's TPMS (tire pressure monitoring) light because it doesn't have a sensor. That's normal — the light should go off once the repaired tire is back on. If the tire pressure light keeps coming on afterward, that guide will help you sort it out.
- Check your pressures. While you're at it, check all four tires — uneven pressure causes uneven wear. Our guide on how often to check tire pressure makes this a two-minute habit.
Typical Costs (Estimates)
| Service / Item | Typical Cost (USD) |
|---|---|
| Professional tire puncture repair (plug + patch) | $20–$40 at most independent shops |
| New standard tire (installed) | $100–$300+, depending on size and brand |
| Portable tire inflator (12V, for your trunk) | $25–$60 |
| Roadside assistance tire change | $50–$100 per call, or free with a membership |
Practice once in your driveway. Seriously. Spend 20 minutes changing a tire at home on a sunny afternoon, and you'll do it in half the time on the side of the road — calmly. It's the single best piece of advice in this article.
Safety note: never get under a car supported only by a small scissor jack, never change a tire on a slope or soft ground, and never drive on a damaged or visibly bulging tire — have it towed instead. If traffic is too close or you feel unsafe for any reason, stay in the car with your seatbelt on and call roadside assistance. If you're unsure, have a qualified mechanic handle it.
Curious about the other lights your dashboard might show you? Our complete guide to dashboard warning lights covers the tire pressure light and every other symbol you'll see. For more tire know-how, browse our tires and wheels guides.