Leather seats are one of the first things people notice when they sit in your car. They look classy, feel great, and can last the entire life of the vehicle — but only if you treat them right. Clean them the wrong way and you'll strip their finish, dry them out, and end up with cracks that no product can fix.
The good news? Leather care is simple once you know the rules. This guide walks you through exactly what to do (and what never to do), step by step.
First: Know What Kind of Leather You Have
Most modern cars use coated leather — real leather with a thin protective polymer layer on top that resists water and stains. A few older or luxury cars have uncoated leather, which absorbs liquid and needs extra-gentle care.
There's an easy test: put a small drop of water on a hidden spot of the seat (near the base or behind the headrest).
- If the drop beads up, you have coated leather — the standard advice in this guide applies.
- If it soaks in, you have uncoated leather — clean with minimal liquid, and consider professional help for anything beyond light dusting.
Many cars also use faux leather (leatherette/vinyl) on some panels. The cleaning steps below work for those too, but you can condition less often since there's no real hide to dry out.
What You'll Need
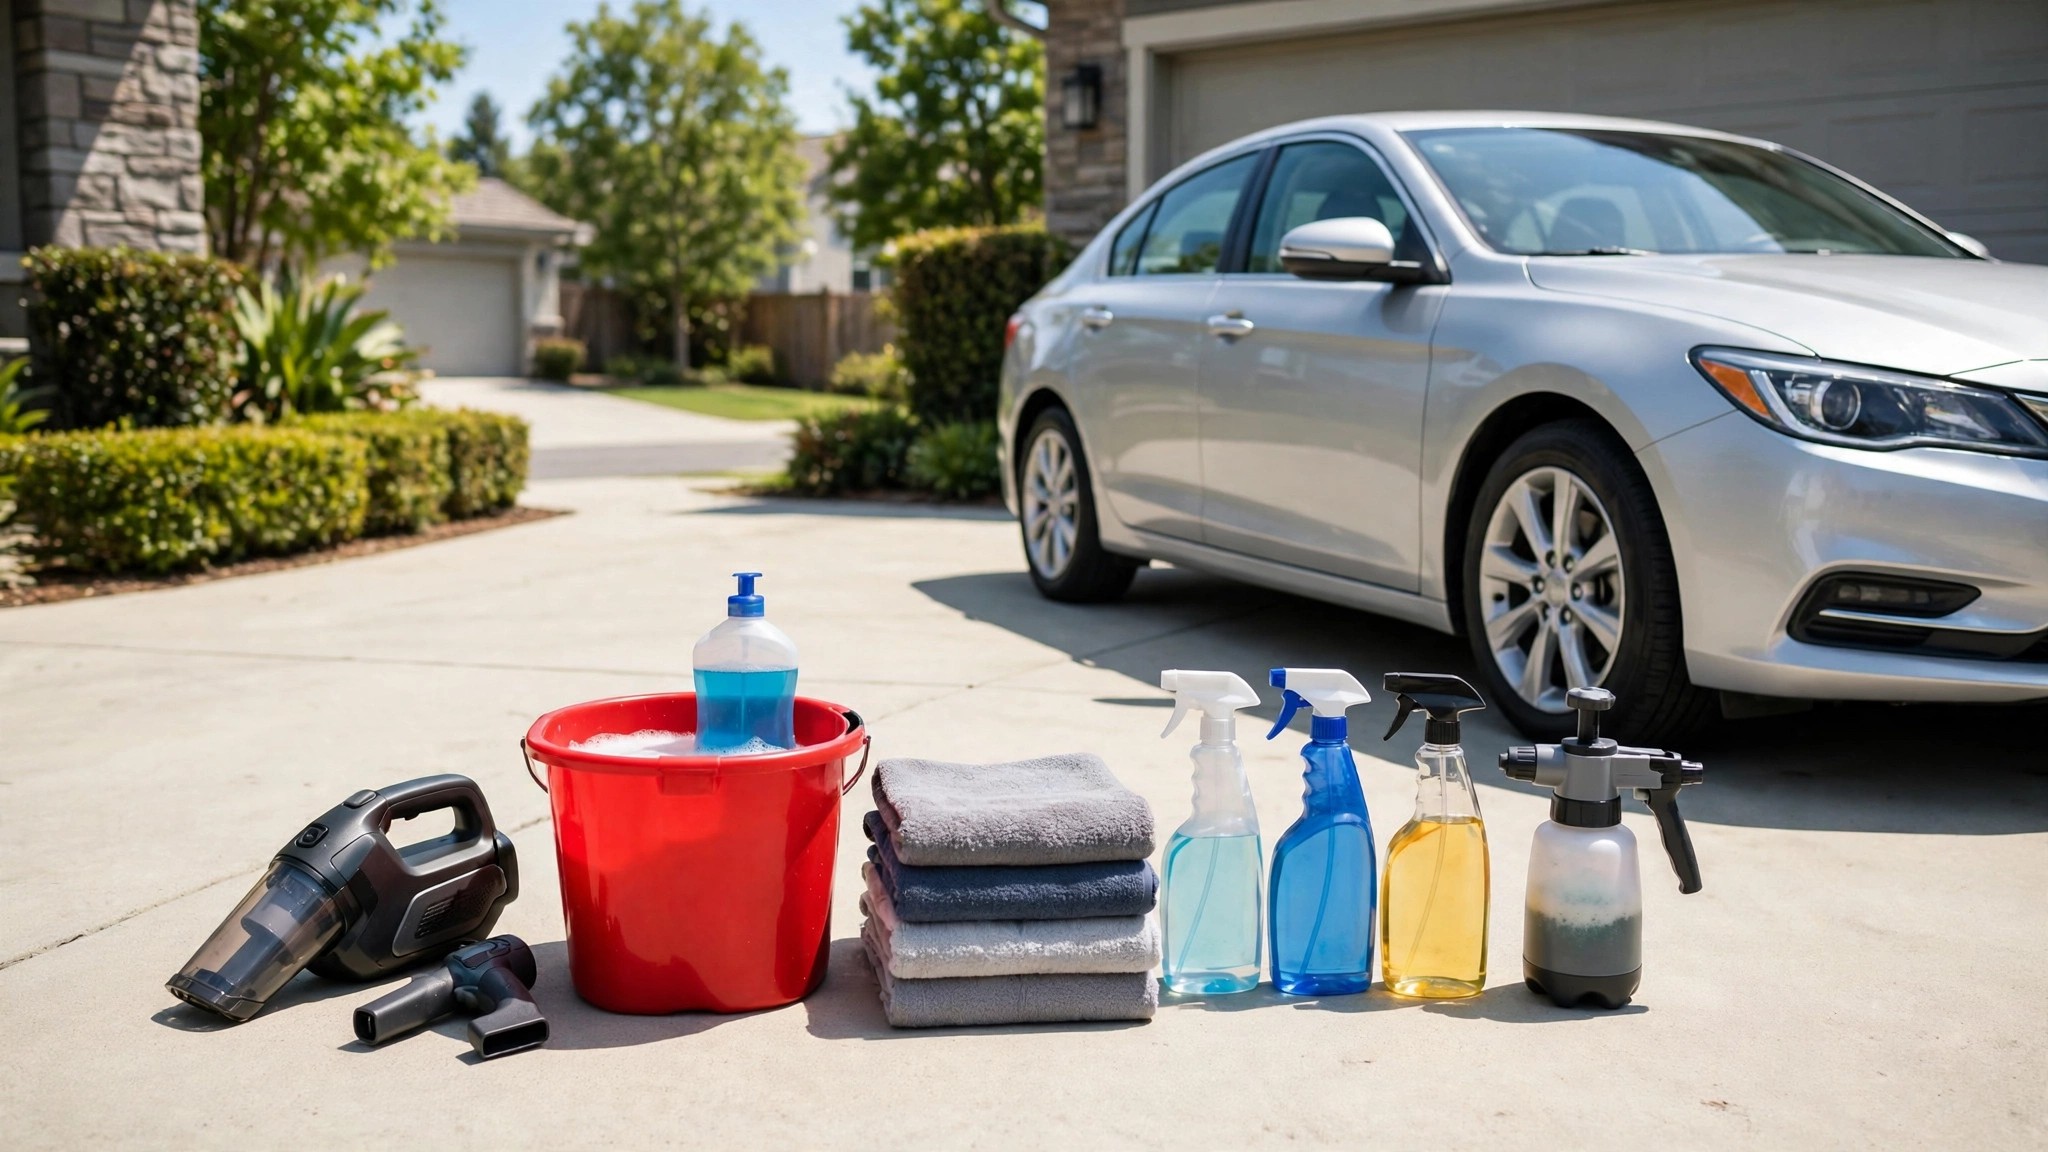
You don't need an expensive kit. Here's the complete beginner's list:
- A pH-neutral automotive leather cleaner (not all-purpose cleaner, not dish soap)
- A leather conditioner with UV protection — water-based and pH-neutral is best
- Three or four clean microfiber cloths
- A soft-bristled brush (a soft detailing brush or even a clean soft toothbrush for seams)
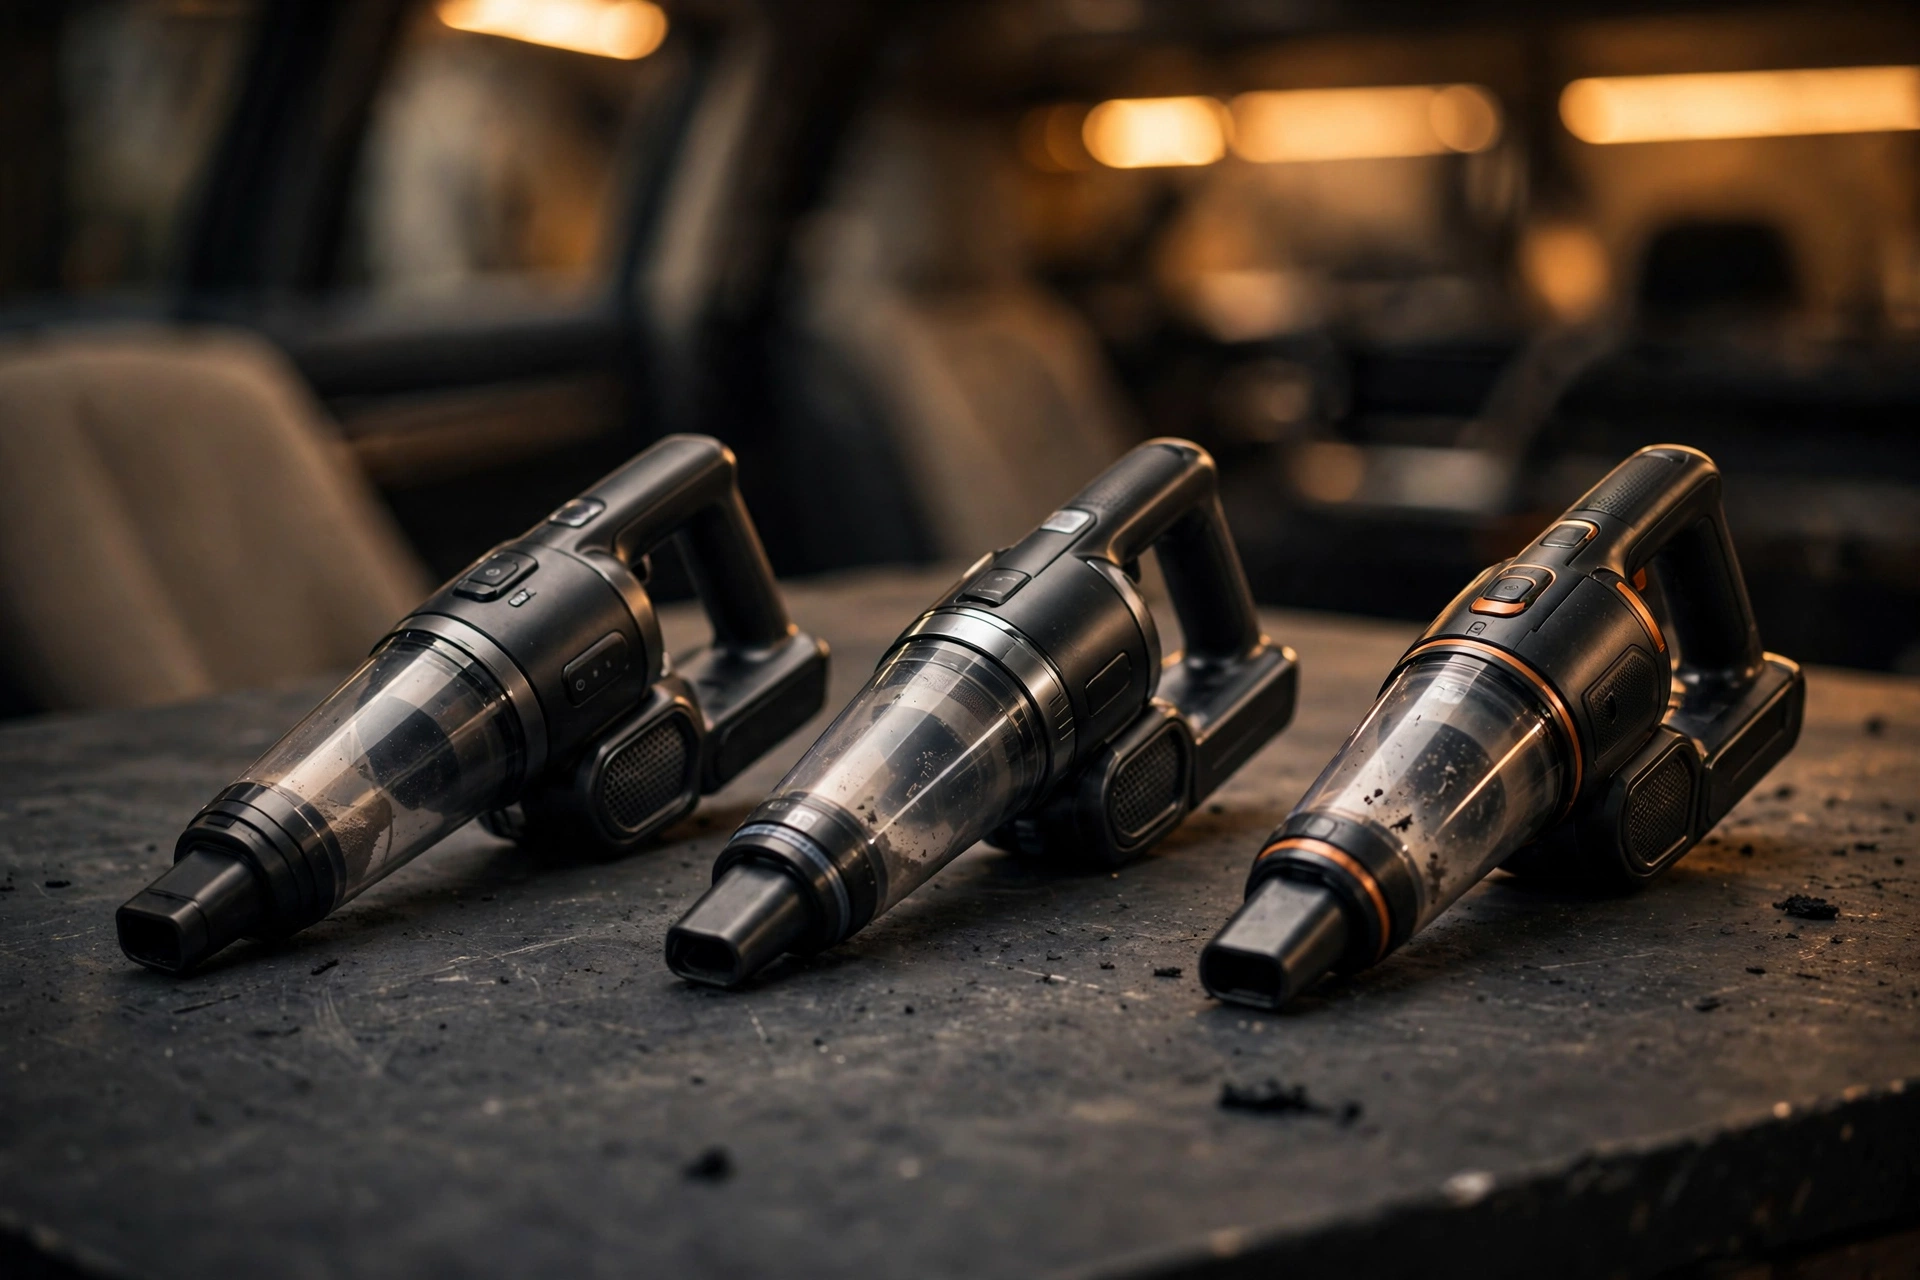
- A vacuum with a soft brush attachment
- A foam applicator pad or a clean sponge for conditioning
Avoid silicone-, wax-, or petroleum-based conditioners — they leave a shiny, greasy film and don't protect the leather properly.
Step-by-Step: Cleaning Your Leather Seats
Set aside about 30 minutes and work in the shade — never clean leather seats in blazing sun, because the cleaner can dry out before you wipe it off.
Step 1: Inspect and vacuum first
Look over the seats for cracks, cuts, or peeling. Mark any damaged spots so you don't pour cleaner into them (liquid getting under the leather can damage the foam underneath). Then vacuum every seat thoroughly with the soft brush attachment, getting into the seams, creases, and around the seatbelt buckles. Trapped grit is what causes most fine scratches on leather.
Step 2: Test your cleaner on a hidden spot
Every time you use a new product, test it first on a spot no one sees — under the seat base or behind a headrest. Dab a tiny amount on a cloth, apply, and wait a minute. No discoloration or stickiness? You're good.
Step 3: Apply cleaner to the cloth, not the seat
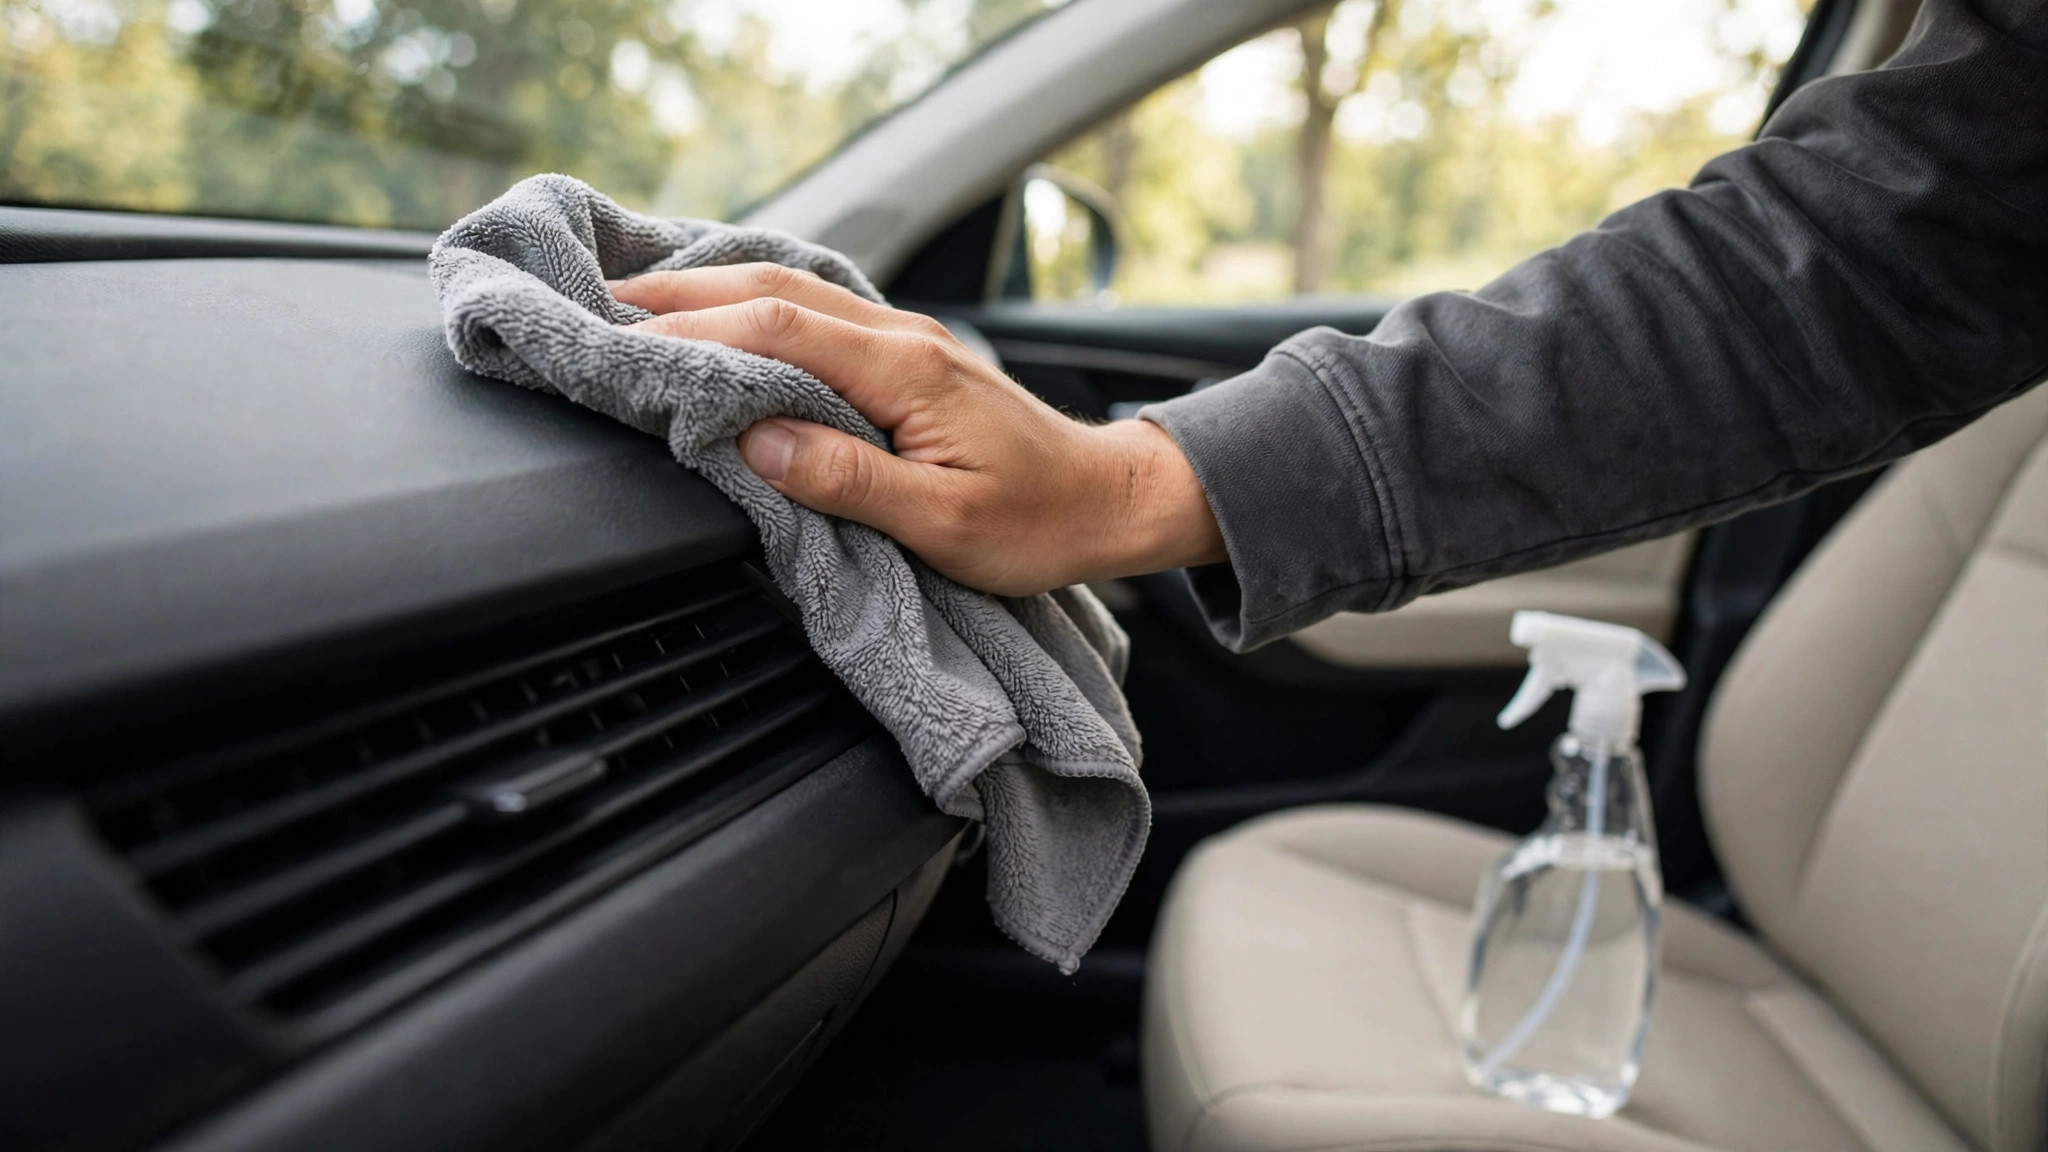
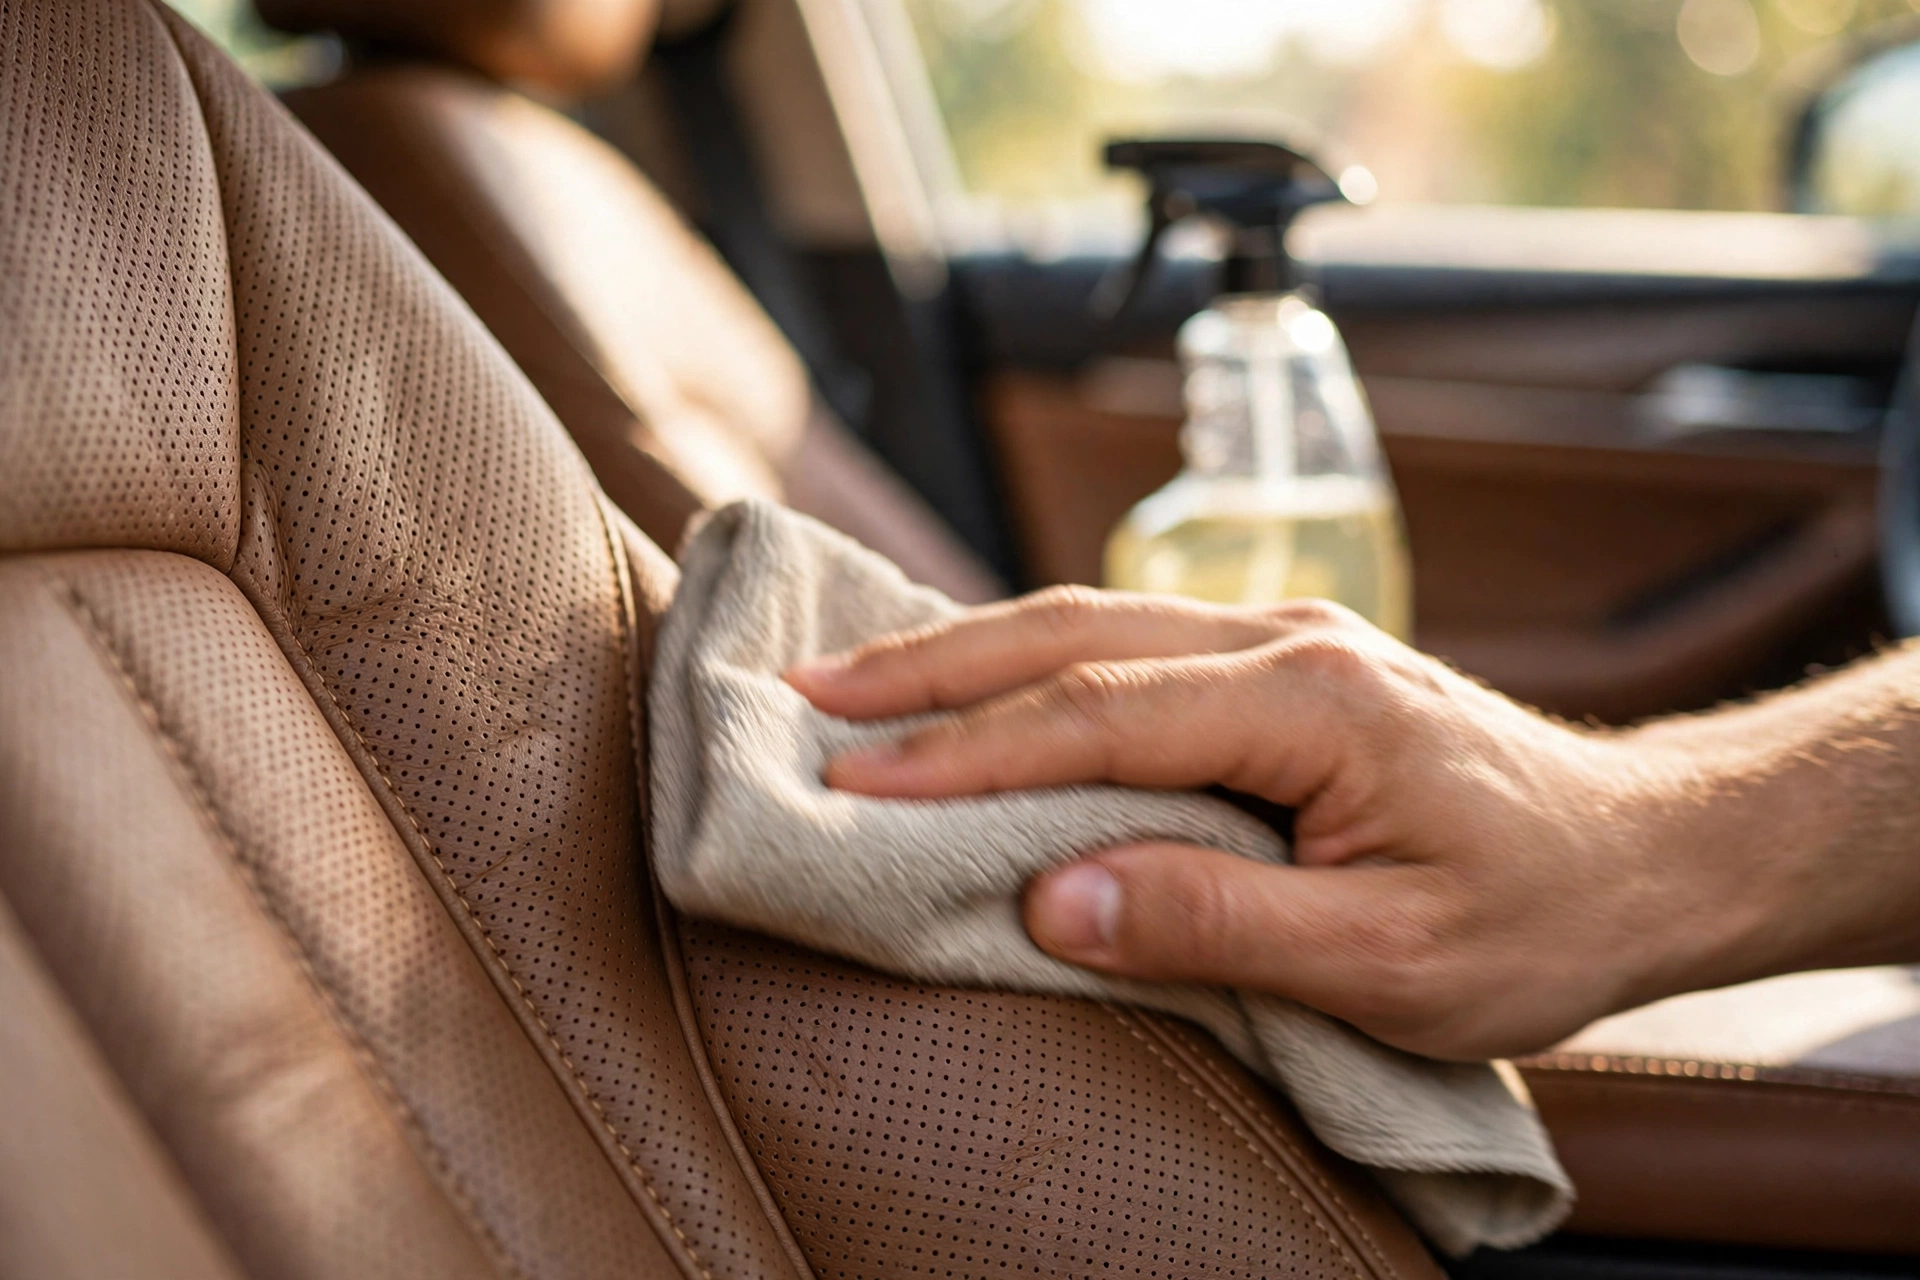
Spray a small amount of cleaner onto your microfiber cloth or soft brush — never directly onto the leather. Spraying directly can flood seams and stitching, and excess cleaner can wick into the foam. Work one seat section at a time using gentle circular motions. A little product goes a long way.
Step 4: Agitate gently, especially the grain
Use the soft brush on textured or perforated areas where dirt hides in the grain. Don't scrub hard — leather scratches more easily than you'd think. If you're also tidying the rest of the cabin, our guide on washing your car properly covers the exterior; inside, gentle is always better.
Step 5: Wipe away the residue
Take a second, clean microfiber cloth and wipe each section to lift off the loosened dirt and leftover cleaner. Don't let cleaner dry on the surface — residue can leave dull patches.
Step 6: Let the seats air-dry completely
Give the seats 15–30 minutes to air-dry fully before moving on. Conditioning over damp leather traps moisture and prevents the conditioner from absorbing properly. Park in shade or indoors while they dry.
How to Condition Leather Seats Properly
Cleaning removes dirt and old product; conditioning restores moisture and adds a protective barrier against UV and drying. Skip conditioning and even clean leather will eventually crack.
- Put a small amount of conditioner on a foam applicator pad or clean cloth. Less is more — you can always add another pass.
- Work it into the leather with even, overlapping strokes, including the stitching lines and bolsters (the raised edges where you slide in and out — they wear first).
- Let it absorb for 5–10 minutes.
- Buff lightly with a clean, dry microfiber cloth to remove any oily film. The seat should feel soft and matte, not slippery.
Cheap conditioners tend to leave a greasy shine. A quality water-based conditioner soaks in and leaves a natural finish. If the seats still smell musty after cleaning, see our guide on keeping your car smelling fresh.
7 Mistakes That Ruin Leather Seats
These are the errors beginners make most often — and every one of them is avoidable:
- Using household cleaners. Dish soap, bleach, and ammonia-based sprays strip the natural oils and protective coating. Even vinegar is acidic enough to damage leather over time.
- Reaching for "home remedies" like olive oil. Olive oil goes rancid and sticky, attracting more dirt. Use products made for automotive leather.
- Magic erasers and stiff brushes. Melamine-foam erasers are basically fine sandpaper — they abrade the coating right off.
- Skipping the conditioner. Cleaning without conditioning leaves the leather dry and unprotected. They are a pair, not an either/or.
- Soaking the seats. More water and more product is never better. Damp cloths, small amounts, one section at a time.
- Shiny silicone dressings. They look nice for a day, then attract dust and degrade the finish. Matte and natural is the goal.
- Drying in direct sun. Heat bakes cleaner residue and conditioner into the surface unevenly. Shade for 20–30 minutes after a session.
Already made one of these mistakes? The damage is often in the coating rather than the hide itself — stop, switch to proper products, and see common car-cleaning mistakes to avoid so the rest of your routine is safe too.
How Often Should You Clean and Condition?
You don't need to deep-clean every weekend. A simple rhythm works:
- Weekly: quick vacuum of the seats to stop grit from grinding into the grain.
- Every 2–3 months: full clean + condition for normal daily use.
- More often (every 6–8 weeks): if you have kids, pets, drive in strong sun, or your car sits parked outdoors all day.
Over-conditioning can cause buildup, so once per cleaning cycle is plenty. Consistent light maintenance always beats one marathon session a year.
Protecting Your Leather Long-Term
Cleaning fixes problems; habits prevent them:
- Use a windshield sunshade when parked — UV is leather's biggest enemy, causing fading and cracking.
- Wipe up spills immediately with a dry cloth. Even water can leave a spot on uncoated leather if left sitting.
- Be careful with seatbelt buckles, keys, and jeans with rivets — these scratch coated leather every time you slide in.
- In very hot climates, crack the windows slightly when parked so the cabin doesn't bake above 60°C.
- Quality seat covers for high-wear periods (road trips, pets) are cheap insurance, though not necessary day-to-day.
FAQ
Can I use baby wipes or dish soap on leather seats?
Not a good idea. Baby wipes often contain alcohol and fragrances that dry out leather, and dish soap is a strong degreaser that strips the protective coating. A dedicated pH-neutral leather cleaner costs about the same as a bottle of dish soap and is far safer.
How do I know when my leather needs conditioning?
Run your hand across the seat: if it feels dry, stiff, or looks dull and lighter in high-wear areas (bolsters, driver's seat edge), it's time. Well-maintained leather feels supple and has an even, natural sheen.
Can cracked leather be fixed?
Light surface dryness can improve with thorough cleaning and conditioning. Deep cracks that go through the coating can't be fixed by conditioning alone — those need professional leather repair or dye work. Regular maintenance is about preventing cracks, not curing them.
Is faux leather (leatherette) cleaned the same way?
The cleaning steps are the same — gentle cleaner, microfiber, small sections. Conditioning matters less since there's no real hide to moisturize, but a light application of conditioner still helps keep the surface supple and adds UV protection.
Do I really need a separate conditioner, or will an all-in-one product do?
For routine maintenance, a decent all-in-one is acceptable. But if your seats are visibly dirty or dry, do the two steps separately: cleaner first, then conditioner. Cleaning and conditioning are different jobs, and separate products simply do each one better.
Conclusion
Caring for leather seats comes down to four habits: vacuum regularly, clean with a proper pH-neutral product, always condition afterwards, and keep the sun off them. That's the whole system. Do it every couple of months and your leather will stay soft, matte, and crack-free for years — no professional detailing bill required.