
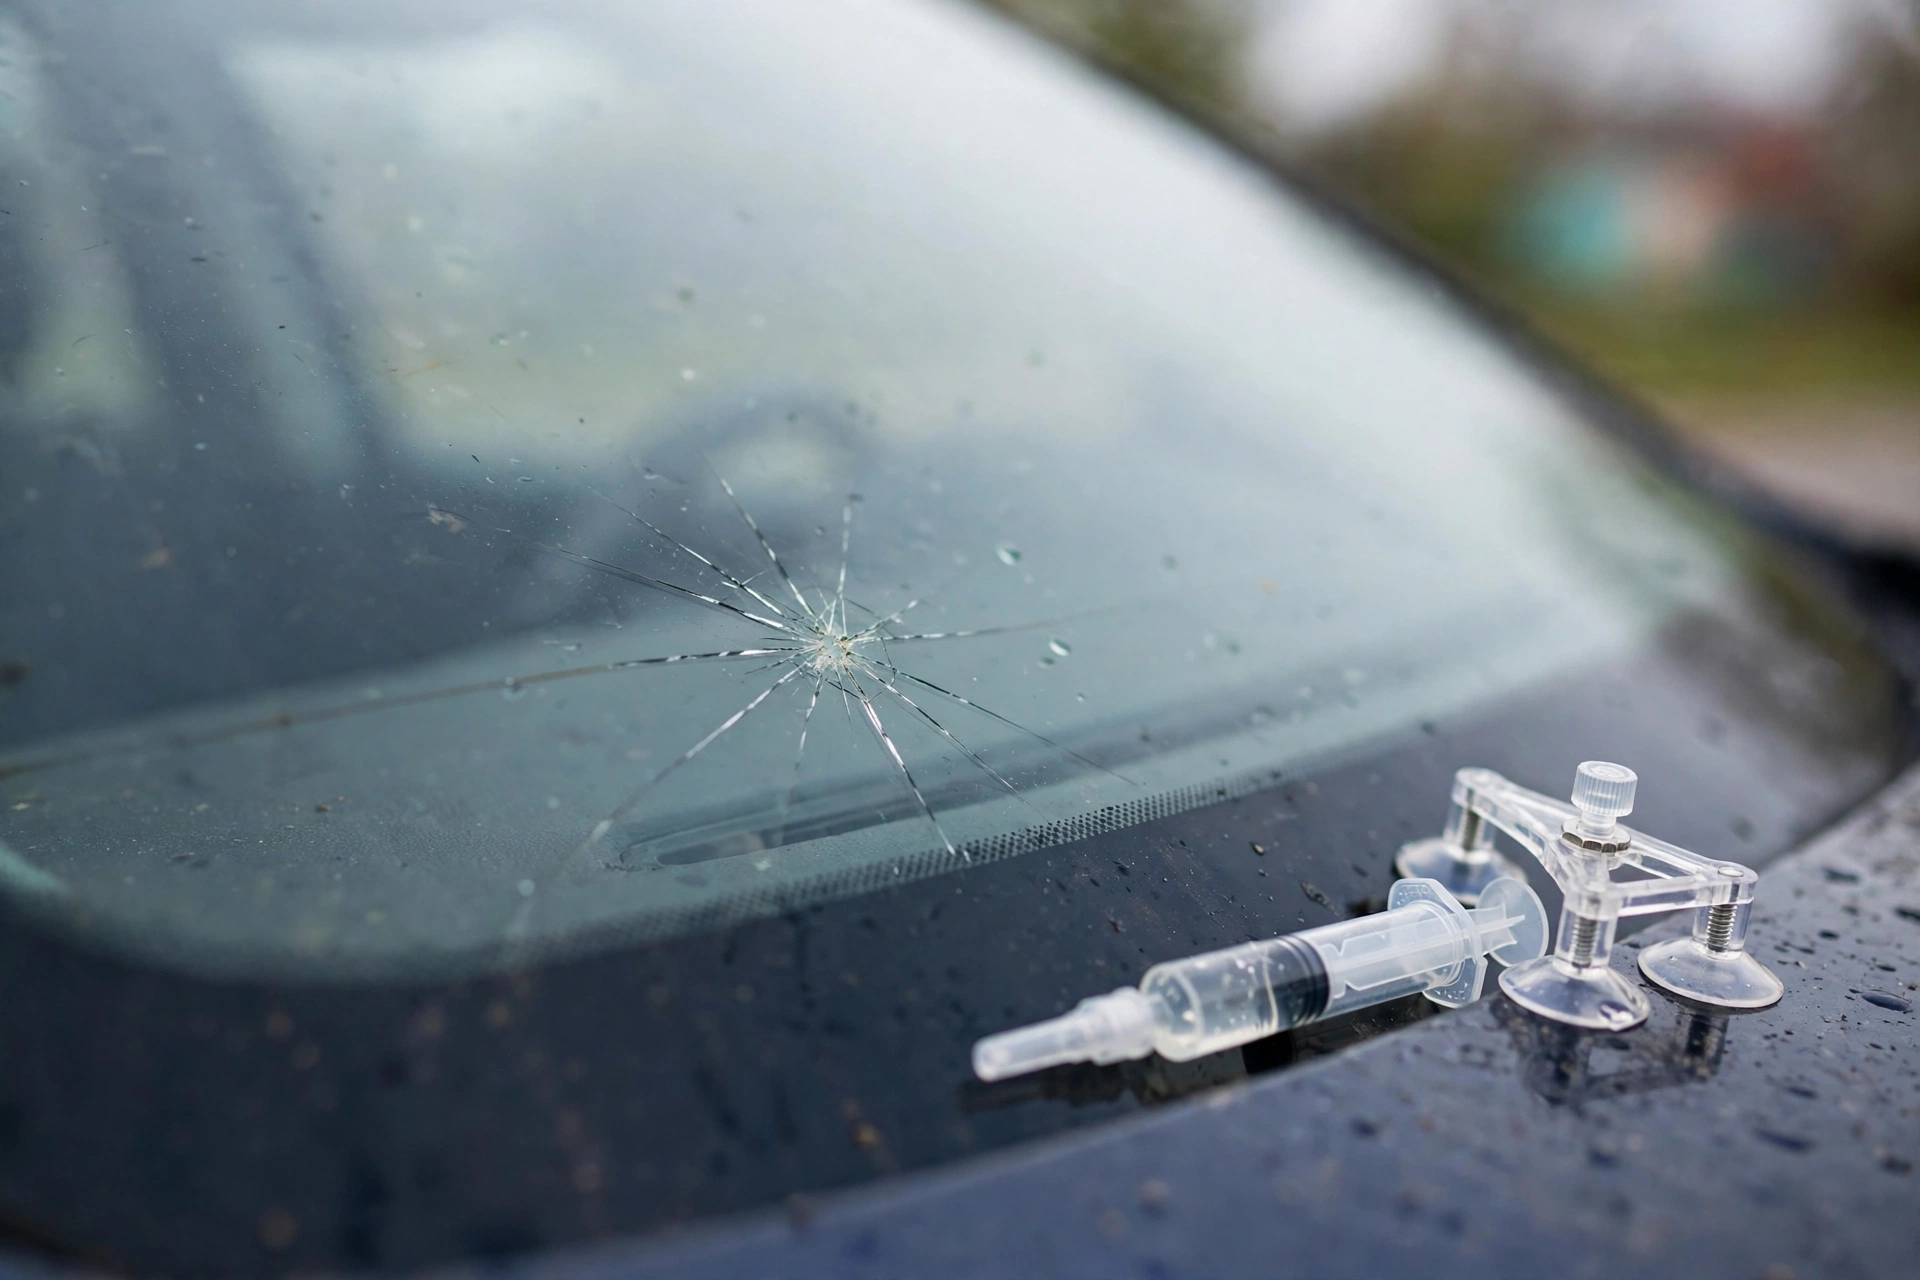
A stone flicks up from the truck ahead of you, there's a sharp tick — and now a tiny star-shaped chip sits in your windshield. It looks harmless. It isn't. Left alone, a chip can spread into a long crack with one cold night or one slammed door, and a crack means a full replacement instead of a 30-minute fix.
The good news: if the chip is small and in the right place, you can fix it yourself with a basic repair kit and no experience. This guide shows you how to tell whether your chip is safe to repair at home, what to do in the first 24 hours, and the exact steps to fill it with resin — plus the mistakes that ruin a repair and when to call a pro instead.
Can You Fix a Windshield Chip Yourself? The 4-Point Test
Run these four checks before you buy a kit. Pass all four and you can go ahead; fail even one and you should book a professional — a bad DIY attempt can make the damage worse.
1. Size: smaller than a quarter
Hold a quarter (about 1.25 inches across) over the chip. If the damage fits underneath it, a standard kit can handle it. Anything bigger needs professional equipment with stronger vacuum and pressure than a home kit can manage.
2. Edge: at least 2 inches from the glass edge
Damage within 2 inches of the edge sits at a weak point in the glass and is much more likely to spread — and it often means replacement, not repair.
3. Line of sight: not in front of the driver
If the chip sits directly in the driver's line of sight, skip DIY. Even a good repair can leave a faint mark, and a mark right where you look is a distraction that can fail a vehicle safety inspection.
4. Depth: only the outer layer is damaged
A windshield is two layers of glass with a plastic layer between them. Run your fingernail lightly over the chip: if you feel a small pit outside but the inside feels smooth, only the outer layer is damaged. If you can feel damage inside too, call a pro.
Chip types you can usually fix: a bullseye (a clean round pit), a star break (short cracks radiating from one point), and a half-moon (a partial circle). A long single crack is a different job — see "when to call a pro" below.
What to Do in the First 24 Hours
Dirt and moisture get into an open chip within hours, and once they are in, the resin cannot bond properly. Do these things the same day you notice the damage:
- Cover it with clear tape. A small piece of clear packing tape keeps dirt and rain out. Don't use coloured tape — its adhesive leaves residue in the break.
- Don't wash the car. Keep water out of the chip. High-pressure washers are the worst — they force water deep into the break.
- Avoid sudden temperature changes — and don't slam the doors. Don't blast the defroster onto a cold windshield or pour hot water on it. Glass expands and contracts, and that is what turns a chip into a crack. A slammed door flexes the glass the same way.
- Check your insurance first. Many comprehensive policies cover chip repair at no cost to you, with no deductible. If yours does, a pro repair is the better choice anyway.
What You Need
A standard kit costs roughly $15 to $20 and can usually be used more than once; a professional repair typically costs $60 to $100, according to AAA. A good kit contains resin (a clear liquid that fills the chip and hardens under UV light), a bridge or pedestal injector (a suction-cup frame that pushes resin in under pressure), curing strips, and a razor blade. You will also want rubbing alcohol, a clean cloth, and a pin for picking out loose glass. Read your kit's instructions first — timings vary between brands.
How to Fix a Windshield Chip: 6 Steps
Step 1: Park in the shade
Work somewhere cool and shaded. Resin cures in UV light, so if the sun hits it too early it will harden before filling the chip. The glass must be cool and dry.
Step 2: Clean the chip — carefully
Use the pin to pick out loose glass fragments. Wipe the area with rubbing alcohol on a cloth and let it dry fully. Do not spray glass cleaner into the chip — cleaner trapped inside stops the resin bonding.
Step 3: Mount the bridge over the chip
Stick the suction-cup bridge or pedestal to the outside of the windshield so its opening sits exactly over the centre of the chip. It should feel solid and level — if it wobbles, reposition it.
Step 4: Add the resin, then vacuum and pressure
Put a few drops of resin into the injector chamber. Then pull the plunger back to draw air out of the chip, wait a minute or two, and push it down to drive the resin in. Repeat two or three times — the dark area should gradually turn clear as resin replaces the air. Tapping the glass gently from the inside can shift stubborn air bubbles.
Step 5: Let it settle, then cure in the sun
Wait the time your kit specifies — usually 5 to 10 minutes — so the resin can seep into the finest cracks. Then remove the bridge, add one or two more drops of resin onto the chip, cover it with a curing strip, and smooth out air bubbles with the razor blade. Move the car into direct sunlight — or use a UV curing light — for 10 to 15 minutes.
Step 6: Scrape and inspect
Peel off the curing strip and scrape the excess resin away with the razor blade, held almost flat against the glass. A good repair is mostly clear, with at most a faint outline where the chip was.
4 Mistakes Beginners Make
- Repairing in direct sunlight. The resin starts curing the moment UV light hits it. Work in the shade, cure in the sun.
- Using glass cleaner inside the chip. It leaves a film that blocks the resin. Alcohol and a dry cloth only.
- Rushing the vacuum-and-pressure cycles. Air left in the chip shows up as a cloudy patch that never clears.
- Expecting the chip to vanish. A repair restores strength and stops the spread — it does not make the glass look brand new. A faint mark is normal, and it is not a failed repair.
DIY vs Professional Repair
| DIY kit | Professional repair | |
|---|---|---|
| Cost | $15–$20, often reusable | $60–$100, often covered by insurance |
| Time | 30–60 min | ~30 min |
| Best for | Small chips, away from the edge, out of the driver's view | Any repairable damage, including edge chips |
| Result | Stops the spread, small mark may remain | Usually clearer, with a warranty |
When to Call a Pro Instead
Skip the kit and call a glass specialist if any of these apply: the chip is bigger than a quarter, a crack is longer than about 3 inches, the damage is within 2 inches of the edge, it sits in the driver's line of sight, the damage goes through both layers of glass, or the chip has already started spreading. The same applies if the windshield has previous repairs nearby, or if the chip is over a sensor area (common on cars with rain sensors or driver-assistance cameras). If you are unsure, most glass shops will inspect the damage free. For a clear picture of how professionals judge repair vs replacement, Safelite's windshield repair guide explains the same size and location rules shops use.
Frequently Asked Questions
How long does a DIY windshield chip repair take?
About 30 to 60 minutes, curing included. The hands-on work is only about 15 minutes.
Will the chip disappear completely?
Usually not. A good repair fills the break and restores the glass's strength, but a faint outline often remains. The goal is to stop the spread — a faint mark beats a long crack.
Can I drive right after repairing a chip?
Yes, once the resin has fully cured in sunlight. Avoid the car wash for 24 hours, and don't run the wipers over the repaired spot until the next day.
Does insurance cover windshield chip repair?
Often, yes. Many comprehensive policies cover chip repair with no deductible — insurers would rather pay for a small repair than a full replacement later. Check your policy before you buy a kit.
Conclusion
A small windshield chip is one of the easiest car problems to fix yourself — if you catch it early and it passes the four tests: smaller than a quarter, at least 2 inches from the edge, out of the driver's line of sight, and only the outer layer damaged. Cover it with tape the same day, work in the shade, and let the resin cure properly in the sun.
If the chip fails any of those tests, don't force it — a professional repair is still far cheaper than a replacement windshield. Either way, the worst thing you can do is nothing: chips don't heal, they grow. While you're looking after your glass, keep the whole windshield clean — see our guide to cleaning car windows without streaks — and make sure your wiper blades are in good shape. For more help, see our guides on defogging your windshield quickly and driving safely in heavy rain, and the photo walkthrough in Family Handyman's windshield repair project.