

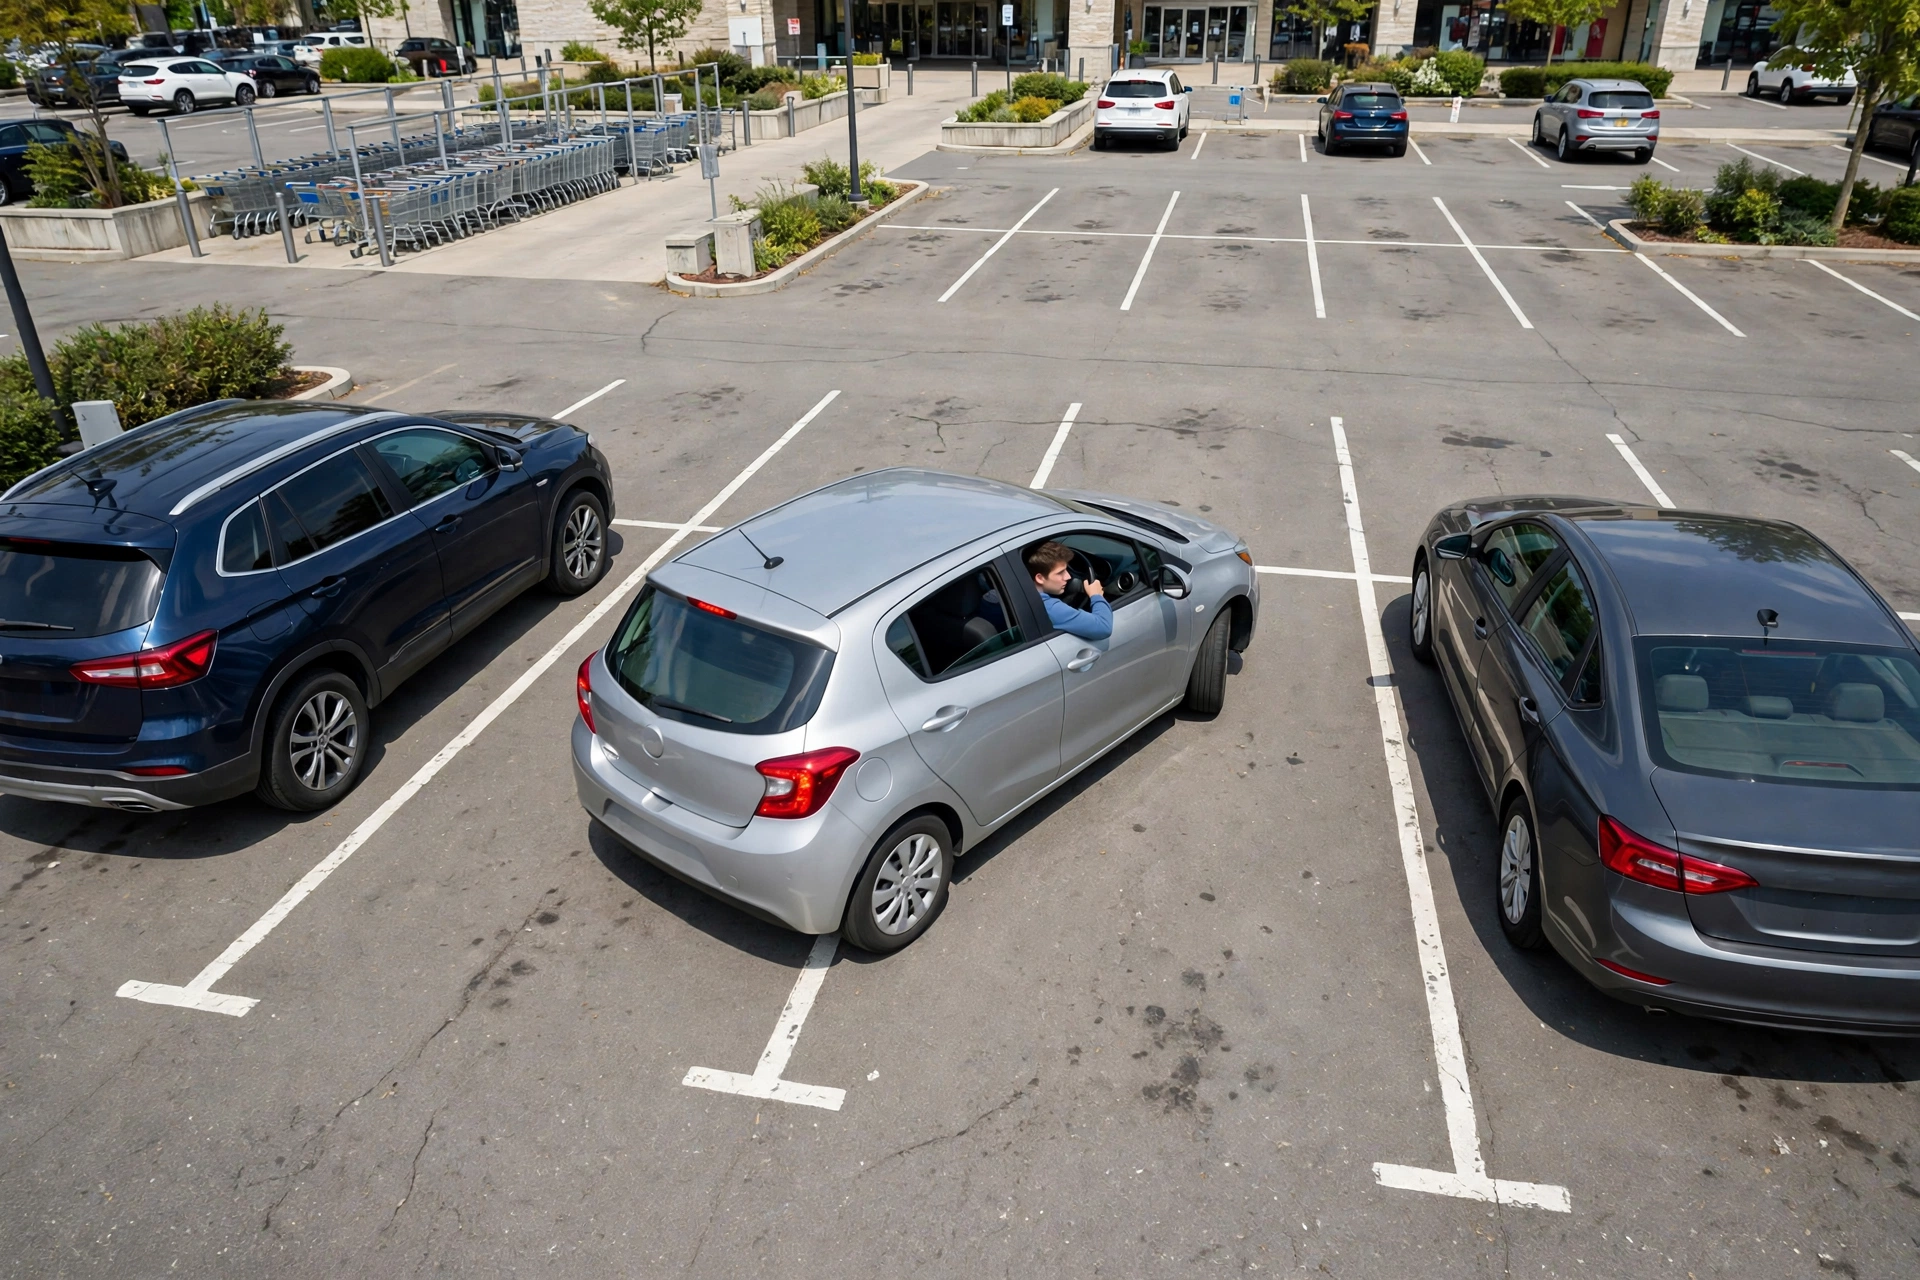
Perpendicular parking is the parking you will do most often as a new driver: pulling into a marked bay at a shopping centre, a hospital, or your workplace, usually between two cars that are already parked. It looks simple from the outside, and it is — once you know the reference points. Without them, most beginners either turn too early and clip the car beside them, or turn too late and end up crooked across two bays. This guide gives you both ways in — front-in and reverse-in — with the exact reference points to watch for, so you can park between two cars on your first try and get out again safely.
What Perpendicular Parking Actually Is
Perpendicular parking means your car ends up at a 90-degree angle to the driving aisle, nose-in or tail-in, between two painted lines. It is the most common form of parking in commercial car parks, and it is different from parallel parking, where you slide in alongside a curb between two cars on a street. The skills overlap — slow speed, mirror checks, and knowing when to turn — but the reference points are completely different, so learning this one properly is worth a quiet afternoon in an empty lot.
There are two ways to do it. Driving in forwards is quicker and feels natural, but you will later have to reverse out into traffic you cannot see well. Reversing in takes a few seconds longer, but you drive out forwards with a clear view of the aisle. Most driving instructors recommend reversing in whenever you can, and most driving tests will ask you to demonstrate it. Learn both, use reverse-in as your default, and keep front-in for the days when the car behind you is waiting and there is no time to set up.
Front-In vs Reverse-In: Which Should You Choose?
| Method | Best for | Watch out for |
|---|---|---|
| Front-in | Quick stops, when a car is waiting behind you, when you need the boot for loading | Reversing out blind into the aisle later; harder to judge the far side |
| Reverse-in | Busy car parks, school runs, anywhere you want a safe, fast exit | Takes more set-up room; needs a clear look over your shoulder first |
If the bay is wide and the lot is quiet, front-in is fine. If the lot is busy, the bays are tight, or you will be leaving at rush hour, reverse in. That one habit alone prevents most car-park bumps, because the most dangerous moment in a car park is not parking — it is reversing out into an aisle where another driver is already moving.
How to Park Front-In, Step by Step
Take it slowly. Perpendicular parking is a walking-speed manoeuvre, and every mistake in it comes from going too fast.
- Signal and scan. Put your indicator on early so drivers behind you know you are parking, not just slowing down. Scan the bay first: is it wide enough, is there a kerb or wall at the end, and is anyone walking behind the cars?
- Position wide. Keep about 6 to 8 feet between your car and the row of parked cars. Staying wide gives your front wheels room to swing into the bay without your rear corner sweeping into the car beside you.
- Line up your bumper. Drive slowly forward until your front bumper is even with the far side of the space — roughly level with the left side of the car parked to the right of your bay. This is the turn point. Turn too early and your nose will cut across the neighbouring car; turn too late and you will enter at a bad angle.
- Turn sharply and aim for the middle. Turn the wheel quickly toward the bay and aim the front of your car at the middle, or slightly the far side, of the space. Keep your foot covering the brake and move at a crawl.
- Straighten halfway in. As soon as your car is about halfway into the bay and roughly parallel with the lines, straighten the wheel. Check both side mirrors: you want equal space on each side, so both you and your neighbours can open their doors.
- Roll to the end. Keep rolling forward until you are fully inside the lines. Stop about 6 inches from the kerb, wall, or end of the bay, and make sure your rear bumper does not stick out into the aisle.
- Park and check. Put the car in Park (or first gear with the handbrake on in a manual), switch off, and glance in both mirrors one last time. If you are crooked, fix it now — straightening is easiest before you are fully in, not after.
How to Reverse In, Step by Step
Reversing in feels harder the first few times, then becomes the easier method, because your steering wheels lead the car into the bay instead of trailing it.
- Drive past the bay. Signal, then drive slowly past the space you want, keeping about 3 to 5 feet between your car and the parked row. Stop when your rear bumper lines up with the near edge of the empty bay.
- Check before you reverse. Look over your shoulder and check all three mirrors. Make sure the aisle behind you is clear of cars and pedestrians, and that nobody is about to walk behind you.
- Turn the wheel fully toward the bay. Select reverse, turn the steering wheel all the way toward the space, and start moving backward very slowly. Your rear will swing into the bay first — that is exactly what you want.
- Watch both mirrors. Keep your eyes moving between the two side mirrors. You are watching the gap between your car and the cars on each side, and the bay lines if they are painted.
- Straighten at 45 degrees. When your car reaches about a 45-degree angle to the aisle, or looks about halfway into the bay, start straightening the wheel. If you straighten too late, you will finish crooked; too early, and you will run wide.
- Reverse to the end. With the wheels straight, reverse slowly until you are fully inside the lines and your rear is close to the end of the bay — but stop before your bumper touches a wall or kerb.
- Park and check. Straighten the wheels, put the car in Park, and check both mirrors for equal spacing. When you leave, you will simply drive forward out of the bay with a full view of the aisle.
Three Reference Points That Make It Click
Reference points turn parking from guesswork into a repeatable routine. They shift slightly with your car and your seat position, so treat them as starting points and adjust them in practice.
1. The shoulder line
When you are pulling in forwards, your shoulder should line up with the painted line of the bay before the one you are entering. If your shoulder passes that line before you start turning, you have gone too far; if you turn before your shoulder reaches it, you have turned too early.
2. The bumper alignment
For the front-in method, the turn point is your front bumper lining up with the far side of the bay. For reverse-in, it is your rear bumper lining up with the near edge. Pick one of these two and use it every time — consistency is what makes the manoeuvre repeatable.
3. The mirror check
Your side mirrors are your spacing tools, not just your reversing tools. Before you finish, glance at both: the bay line, or the neighbouring car, should sit at roughly the same distance in each mirror. If one side is much closer, pull forward a little and correct it while you still have room.
Tight Spaces and Unmarked Lots
Not every bay is generous. If the cars on both sides are parked close to the lines, pick a different bay if one is free — there is no prize for squeezing into the hardest space in the lot. If you must use a tight bay, reverse in: it gives you more control over where your rear ends up, and your doors open toward the aisle side when you leave. Go even slower, and use a passenger as a spotter if one is available.
In an unmarked lot with no painted lines, leave about 8 feet between your car and the next vehicle before you pull in, and park parallel to the cars already there rather than at a random angle. Leave enough room on both sides for doors to open — about an arm's length is a good rule — and never park so close to another car that either driver has to climb in through the passenger side.
How to Get Out Safely
Getting out is where most car-park bumps happen, so give it the same care as getting in. If you reversed in, simply check the aisle in both directions, signal, and drive forward out. If you parked front-in, the exit needs more care: reverse slowly, looking over your shoulder and checking all mirrors, and do not turn the wheel until your front bumper has fully cleared the car beside you. Turning too early is how bumpers get scraped. If a large vehicle beside you blocks your view, reverse in tiny steps, pause, and look again — or ask a passenger to watch the aisle. Never rely on the reversing camera alone: it shows what is directly behind you, not a car approaching from the side.
5 Mistakes Beginners Make
- Turning too early. The most common error. Your front corner swings toward the neighbouring car. Wait for your bumper reference point before you turn.
- Going too fast. Parking is a walking-speed job. If you feel rushed, stop, breathe, and start the manoeuvre again. The driver behind you can wait.
- Only watching one mirror. The side you ignore is the side you hit. Keep both mirrors in your scan, and turn your head to check the blind spot before reversing.
- Finishing crooked and leaving it. A crooked car invites door dings and makes the next driver park crooked too. If it is not straight, pull forward and try again — nobody judges a second attempt.
- Forgetting the exit. Parking front-in next to two tall vehicles means reversing out blind later. When you choose a bay, think about how you will leave it, not just how you will enter it.
A 15-Minute Practice Drill
Find a quiet, empty section of a car park — a supermarket lot early on a Sunday morning works well — and use two empty bays side by side. First, drive in forwards five times, using the shoulder-line reference point, and check your centring in the mirrors each time. Then reverse in five times, using the rear-bumper reference point. Finish by practising the exit: reverse out slowly, stopping before you turn, until the movement feels boring. Boring is the goal. Once the reference points are automatic in an empty lot, a busy lot with cars on both sides feels like the same manoeuvre with an audience, and that is exactly what it is.
Frequently Asked Questions
Is it better to park front-in or reverse-in?
Reverse-in is safer overall, because you leave driving forwards with a clear view of the aisle. Front-in is quicker and fine in a quiet lot. Learn both and default to reverse-in in busy car parks.
How much space do I need between my car and the parked row?
About 6 to 8 feet for a front-in entry, and about 3 to 5 feet when setting up to reverse in. Staying wide gives your car room to swing without your corners sweeping into the neighbouring car.
What if there are no painted lines?
Leave about 8 feet between your car and the next vehicle, park parallel to the cars already there, and leave an arm's length on each side for doors to open.
How do I know when to straighten the wheel?
Straighten when your car is about halfway into the bay and roughly parallel with the lines or the neighbouring cars — around a 45-degree angle to the aisle when reversing in. Check both mirrors to confirm equal spacing.
Will perpendicular parking be on my driving test?
In many US states it is part of the driving test, usually as a reverse-in or pull-through manoeuvre in a marked bay. Practise the exact method your state's handbook describes, and use the same reference points on test day that you practised with. Our driving test tips cover the other manoeuvres examiners commonly check.
Conclusion
Perpendicular parking is a small skill with an outsized payoff: it is the parking you will do almost every day, and doing it well keeps your car free of scrapes and your exits safe. Remember the three reference points — the shoulder line, the bumper alignment, and the mirror check — keep your speed at a crawl, and default to reversing in whenever the lot is busy. Practise the drill once in an empty lot, and the next time you pull into a bay between two cars, it will feel like a routine you already own. For the street version of this skill, see our guides to parallel parking and backing into a parking space.
Sources: EngineerFix — How to Park a Car: Step-by-Step for Beginners; Lamidix — How to Park Your Car in 3 Kinds of Parking Spots.