You know the moment: you check your mirror, the lane beside you looks empty, you start to move over — and a horn blares from a car that was there all along. It did not appear out of nowhere. It was sitting in your blind spot, the gap between what your rearview mirror shows and what your side mirror shows. In most cases, that gap exists because the mirrors were set the way most of us were taught: aimed at our own car.
If you can see a big slice of your own car in your side mirrors, you are wasting about a third of each mirror on something you already know is there — your own door — while a whole vehicle can hide in the space you are not watching. The U.S. National Highway Traffic Safety Administration (NHTSA) notes that roughly 840,000 crashes a year involve lane changes or merging. Proper mirror adjustment cannot prevent all of them, but it closes the gap where cars disappear. The fix takes about five minutes, parked, and costs nothing. It is called the wide setting, or the SAE/BGE method, after a 1995 Society of Automotive Engineers paper by engineer George Platzer that worked out the geometry.
Why Your Mirrors Are Probably Set Wrong
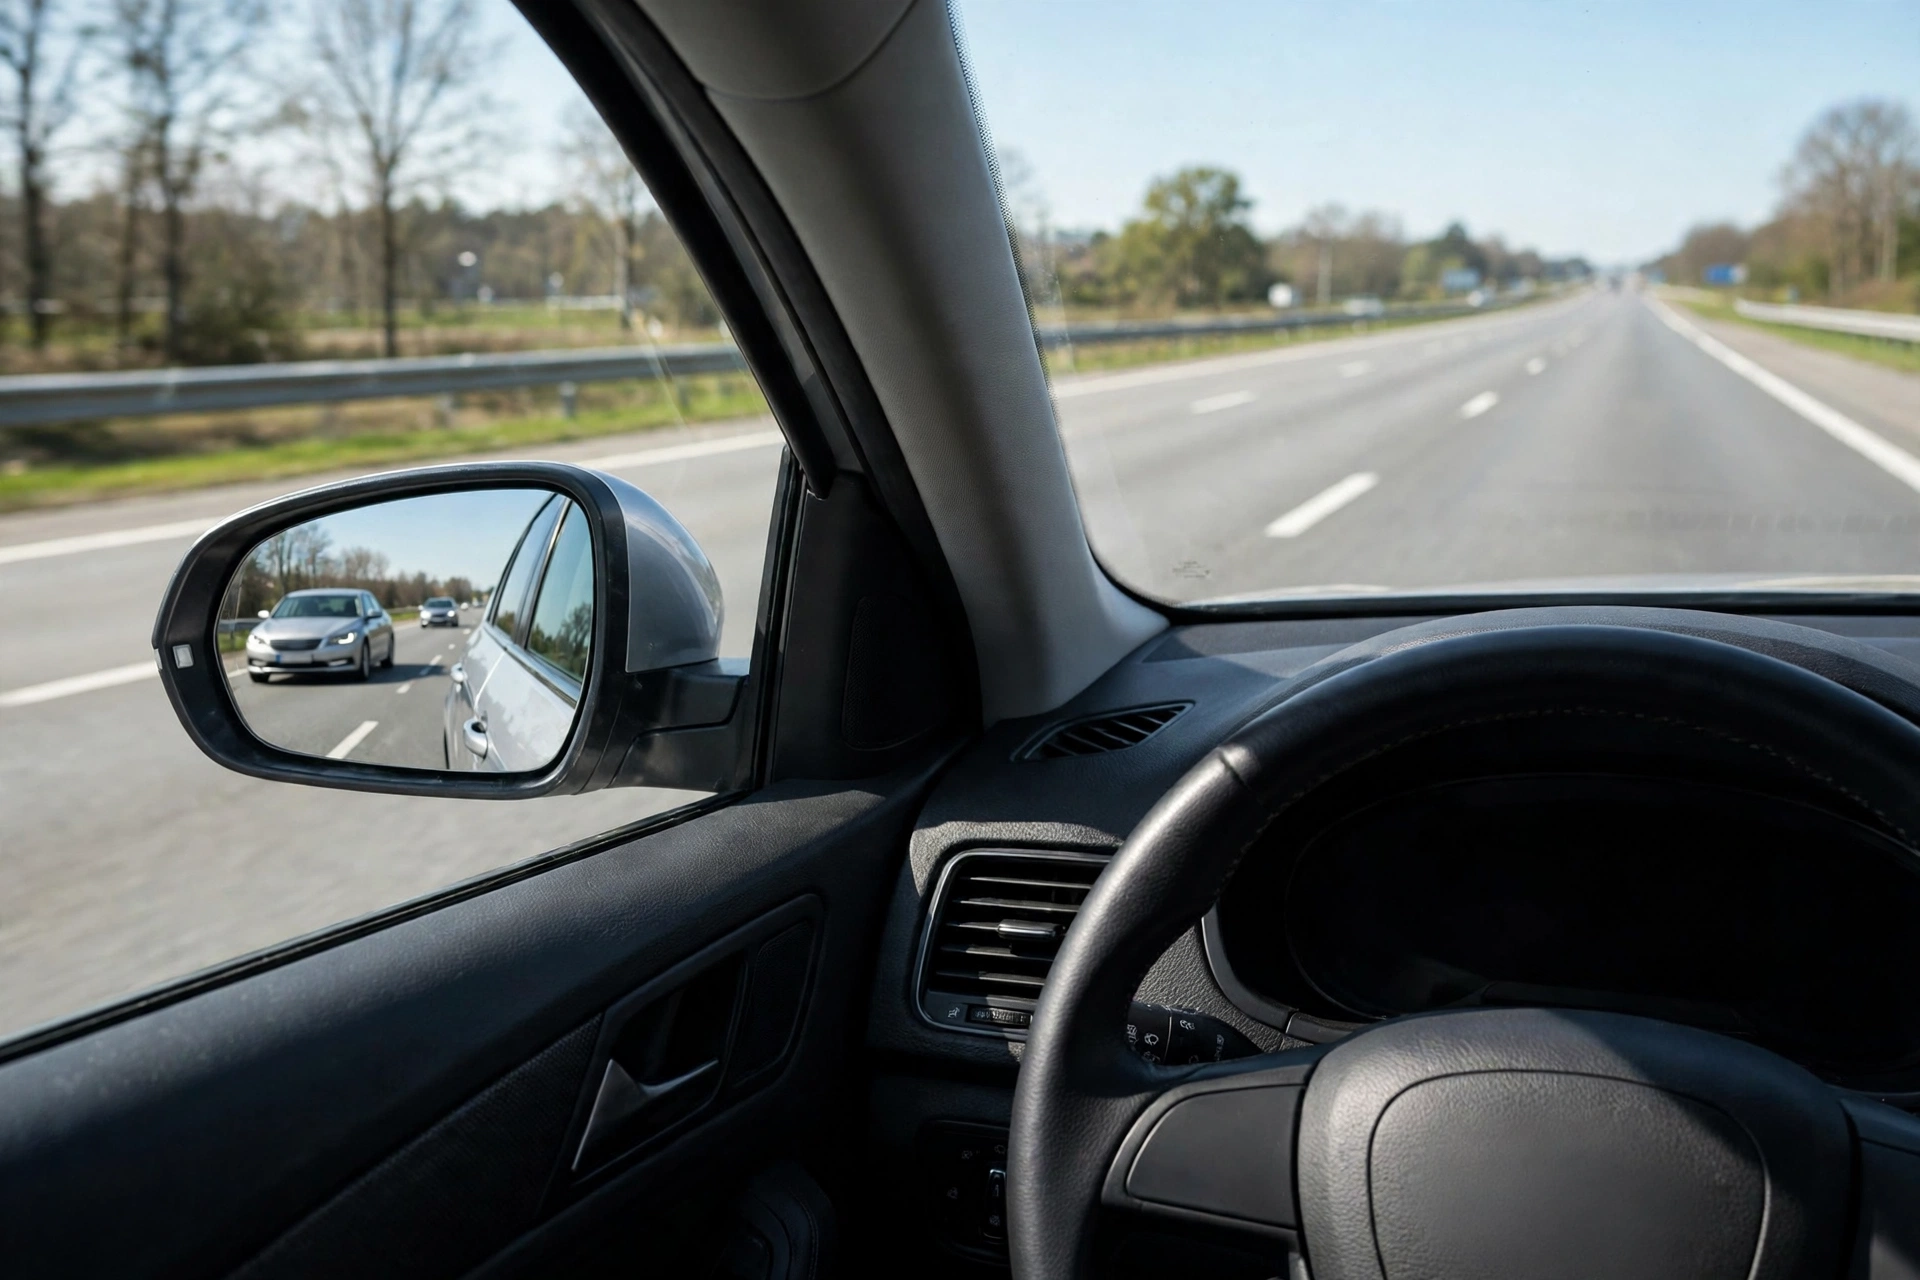
Your three mirrors are supposed to work as a team, each covering a different slice of the road. When your side mirrors point at your own car, they mostly repeat what the rearview mirror already shows — the same car appears in two mirrors at once — while the lane beside you gets only the outer edge of the glass. Between the rearview mirror's coverage and your peripheral vision, a gap opens up wide enough to hide a car, a motorcycle, or a cyclist.
The wide setting gives each mirror a different job. The rearview mirror covers the road directly behind you. Each side mirror covers the lane beside you, angled outward so its view just overlaps the rearview mirror's view. A passing car then moves smoothly from one mirror to the next: it leaves the rearview mirror and appears in the side mirror, then leaves the side mirror and enters your peripheral vision. At no point does it vanish.
Before You Touch a Mirror: Set Your Seat First
Mirrors come last, because your seat position decides where your eyes are, and where your eyes are decides what the mirrors show. So before you adjust anything, park on flat ground with the handbrake on — never adjust mirrors while driving — and set your seat first: pedals reachable with a slight bend in your knees, back upright against the seat, steering wheel reachable with a slight bend in your elbows.
Leave the seat alone after this. If you move the seat later, the mirrors need adjusting again — which is also why you should re-check your mirrors any time someone else has driven your car. If your car has power mirrors, find the adjustment switch now (usually on the driver's door) and check which button selects the left and right mirror.
Step 1: Set the Rearview Mirror
Start inside the car. Adjust the rearview mirror so it frames the entire rear window, edge to edge, with the road centered in the glass. You should not be looking at your own face, the headrests, the ceiling, or the back seat — just the road and the traffic behind you.
Once it is set, you should be able to check it with your eyes alone, without moving your head. If headlights behind you dazzle you at night, flip the small tab under the mirror (or rely on auto-dimming if your car has it) — that darkens the reflection without changing the angle.
Step 2: The Driver-Side Mirror (Lean Left)
This is the step that feels wrong the first time, because you are about to aim the mirror away from your own car on purpose.
- Lean your head to the left until it almost touches the driver's side window. Stay in your normal seated position otherwise.
- From this leaned position, adjust the left mirror outward until you can just barely see the side of your own car at the inner edge of the mirror — a thin sliver of the rear door or quarter panel, no more.
- Sit back up into your normal driving position. Your car should now be out of the mirror, or only just visible at the very edge. That is the point: the mirror is now watching the lane beside you instead of your own door.
AAA's driver training programs teach the same technique, describing it as canting the side mirrors outward by about 15 degrees, and NHTSA's own mirror flyer gives the same lean-and-adjust instructions. The lean is just a trick to get the angle right: it puts your head where it needs to be so that, once you sit upright, the mirror points at the road instead of at your car.
Step 3: The Passenger-Side Mirror (Lean Right)
The right side works the same way, mirrored:
- Lean your body to the right until your head is roughly over the center console, between the two front seats.
- From there, adjust the right mirror outward until you can just barely see the right side of your car at the mirror's inner edge.
- Sit back up. Again, your car should now be out of the mirror in your normal position, and the mirror should be showing the lane to your right.
One thing to know about the passenger mirror: on most cars it is slightly convex (curved outward), which is why it carries the warning "Objects in mirror are closer than they appear." The curve gives you a wider view, but it makes everything look smaller and farther away than it really is. Never judge the distance of a car in that mirror the way you would in the flat driver-side mirror — if it looks close, it is closer than you think.
Also set the vertical angle on both mirrors while you are here: the mirror should show mostly road, with the horizon sitting roughly in the upper third of the glass. If your mirrors show mostly sky, angle them down.
The 2-Minute Test That Proves It Works
Do not just trust the setup — test it before you rely on it. You need either a helper or a quiet road.
The helper test (parked): sit in the driver's seat while a friend walks slowly from behind your car, along the left side, toward the front. They should move from the rearview mirror into the left side mirror, then out of the side mirror and into your peripheral vision — without ever disappearing completely. Repeat on the right side. If they vanish for a step or two, angle that side mirror a little further outward and test again.
The passing-car test (driving): on a quiet multi-lane road, watch a car overtake you on the left. It should appear in your left side mirror just as it leaves the rearview mirror, and enter your peripheral vision just as it leaves the side mirror. The handover should feel seamless, with no gap where the car is nowhere to be seen. Small adjustments make a big difference at mirror angles, so move the mirror a fraction at a time and re-test.
Why It Feels Wrong for the First Week
Almost everyone who switches to the wide setting has the same reaction for the first few days: it feels like something is missing. Your own car has been your reference point for years, and suddenly it is gone from the glass. That is normal, and it passes. Give it a week of normal driving before you judge it — most drivers find that by day three or four the new view feels natural, and going back to the old setting then feels like driving with blinkers on.
Two practical notes for the adjustment period. First, reversing and parking feel different: the wide setting is tuned for driving, not for backing into a space, where seeing your own car's rear corner actually helps. When you park, turn your head and use the rear window, or briefly tilt the mirrors down if you have power adjustment — then tilt them back before you drive off. Second, do not revert because the old setting "felt safer." It felt safe precisely because your car was always visible. But your car was never the thing you needed to see — the cars you cannot see are the risk, and the wide setting is what shows them to you.
5 Mistakes Beginners Make With Mirrors
- Adjusting while driving. It takes your eyes off the road and your hand off the wheel. Always park first.
- Keeping a big slice of your own car visible "for reference." A sliver while leaning is the target. A quarter of the mirror showing your door is a blind spot you built yourself.
- Forgetting to re-check after someone else drives. A different driver means a different seat position, which means different mirrors. Make the 60-second check part of taking the car: seat, rearview, left, right.
- Ignoring the vertical angle. A mirror aimed at the sky shows clouds, not cars. Horizon in the upper third, road filling the rest.
- Treating mirrors as a replacement for the shoulder check. Mirrors shrink blind spots; they do not erase them. The shoulder check is still part of every lane change.
Do You Still Need a Shoulder Check? Yes.
Even with perfect mirror adjustment, NHTSA is clear that small blind zones remain — too small to hide a car, but big enough to hide a motorcycle or a cyclist sitting close beside you. That is why NHTSA's own mirror instructions end with the same advice: look over your shoulder before changing lanes.
Technology does not remove the need either. Blind-spot monitoring systems help, but in AAA testing with the Automobile Club of Southern California, the systems detected motorcycles about 26 percent later than passenger cars. Sensors are a backup, not a replacement for your eyes.
So the routine for every lane change stays the same, and it takes about two seconds: mirror, signal, shoulder check, move. Check the side mirror first, signal early so other drivers know your intention, glance quickly over your shoulder to the side you are moving toward, then move smoothly if the lane is clear. Our step-by-step guide to changing lanes safely breaks down the mirror-and-shoulder-check sequence in detail, and our guide to merging onto the highway safely shows the same skills at higher speed.
Frequently Asked Questions
Can mirrors eliminate blind spots completely?
No. The wide setting shrinks blind spots so no full-size vehicle can hide in them, but small zones remain — especially for motorcycles and cyclists close beside you. That is why the shoulder check is still part of every lane change, even with perfect mirrors.
Should I see my own car in the side mirror?
Only a sliver, and only while you are leaning to set the mirror. In your normal driving position, your car should be out of the side mirrors. If you can see a big part of your door while sitting normally, the mirror is aimed too far inward.
Why does the passenger mirror say objects are closer than they appear?
Because it is convex — curved outward to give a wider view. The curve makes everything look smaller and farther away than it really is. Treat any car you see in that mirror as closer than it looks, and double-check with a shoulder glance before moving right.
Do I need to redo this after someone else drives my car?
Yes. A different driver sits differently, so the mirrors will be wrong for you. Build a 60-second habit: seat, rearview mirror, left mirror, right mirror — every time you take the car after someone else has used it.
Do small stick-on blind spot mirrors replace proper adjustment?
No — they are an add-on, not a fix. Set your main mirrors correctly first. If you then want extra coverage, small convex mirrors stuck on the outer corner of each side mirror can help, especially for parking. Our guide to blind spot mirrors for beginners explains which shapes work and where to place them.
The Bottom Line
Five minutes, parked, three mirrors, one test. Set your seat, frame the rear window in the rearview mirror, lean left and right to aim the side mirrors outward until your car just disappears, then run the passing-car test. If you drive on the highway, read our beginner's guide to highway driving next — the mirror habits in this guide are the same ones that keep highway lane changes calm. Your mirrors are the cheapest safety upgrade your car will ever get, and they were already installed. All they needed was pointing in the right direction.
Sources: NHTSA, "Minimize Blind Spots Using Outside Mirrors" (nhtsa.gov); AARP, "How to Make Your Car Mirrors Account for Blind Spots," with AAA driver training manager William Van Tassel (aarp.org).